> ## Documentation Index
> Fetch the complete documentation index at: https://docs.unstructured.io/llms.txt
> Use this file to discover all available pages before exploring further.
# Pinecone destination connector quickstart
Unstructured can connect to several types of [destinations](/pipelines/connectors#destinations). In this quickstart, you create a [Pinecone](https://www.pinecone.io) destination connector that you can add to your Unstructured [workflows](/pipelines/workflows).
This destination connector enables your Unstructured workflows to send processed data about your documents into a [Pinecone dense serverless index](https://docs.pinecone.io/guides/index-data/indexing-overview#dense-indexes) in your Pinecone account.
In this quickstart, you will:
* Create a free Pinecone account.
* Create a Pinecone destination connector in your Unstructured account.
* Add the Pinecone destination connector to a workflow in your Unstructured account.
If you are not able to complete the following steps, contact Unstructured Support at [support@unstructured.io](mailto:support@unstructured.io).
## Step 1: Create your Pinecone account
In this step, you create a [free Pinecone Starter account](https://www.pinecone.io/pricing/#plan-comparison-table). This account is limited to up to 2 users, up to 2 GB of total storage, and has rate-limited reads and writes.
If you already have a Pinecone account and want to use it instead, then skip ahead to Step 2.
1. Go to the Pinecone home page, at [https://www.pinecone.io](https://www.pinecone.io).
2. Click **Sign up**.
3. Enter your email address, and then click **Continue**.
4. Leaving this tab open in your web browser, go to your email inbox, and open the email messagefrom Pinecone. Copy the verification code that appears in this email message.
5. On the tab that you left open in your web browser, paste the verification code into the **your code** box, and then click **Continue**.
6. Select the radio button labelled **I'm building a small or personal project**, and then click **Start for free**.
7. On the next page, enter the following information to continue creating your Pinecone account:
* Enter your **First Name** and **Last Name**.
* For **Purpose of use**, select **Personal**.
* For **Preferred coding language**, select **Python**.
8. Click **Continue**.
9. On the next page, enter the following information to finish creating your Pinecone account:
* For **Use case**, select **RAG**.
* For **What does your data look like**, select **I have raw documents**.
* For **What is your goal**, select **Build an AI feature/product**.
10. Click **Get started**.
11. In the **API key generated** dialog that appears, click the copy icon to copy your API key's value. Save this key's value to a secure location, as you will need it later in Step 2.
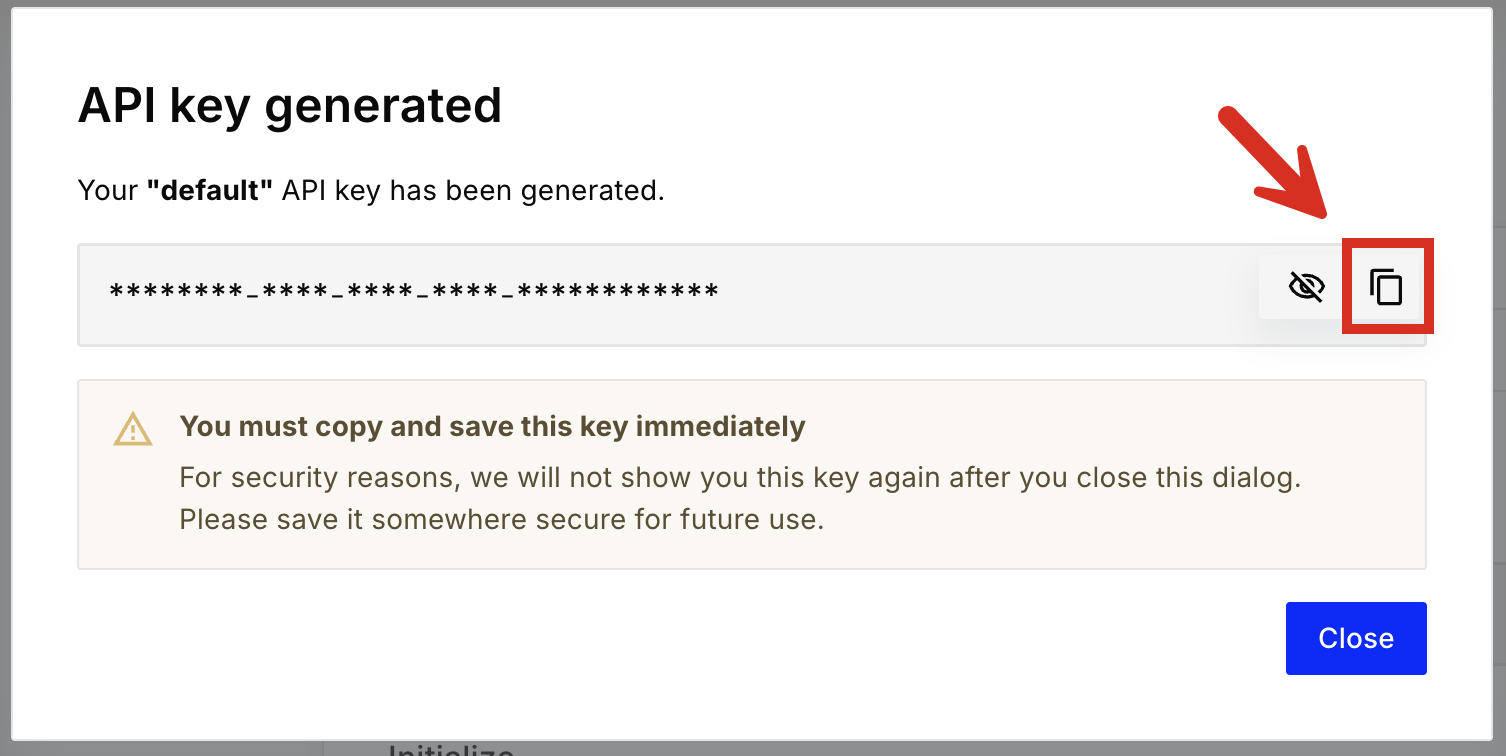 If you lose this API key's value later, you will not be able to get it back. However, you can [create another API key](https://docs.pinecone.io/guides/projects/manage-api-keys#create-an-api-key).
Be sure also to [delete the entry for the lost API key](https://docs.pinecone.io/guides/projects/manage-api-keys#delete-an-api-key).
12. Click **Close**. The Pinecone user interface (UI) appears.
If you lose this API key's value later, you will not be able to get it back. However, you can [create another API key](https://docs.pinecone.io/guides/projects/manage-api-keys#create-an-api-key).
Be sure also to [delete the entry for the lost API key](https://docs.pinecone.io/guides/projects/manage-api-keys#delete-an-api-key).
12. Click **Close**. The Pinecone user interface (UI) appears.
 ## Step 2: Create the Pinecone destination connector
In this step, you create a Pinecone destination connector in your Unstructured account. This destination connector
is used by Unstructured to send processed data about your documents into a Pinecone dense serverless index in your Pinecone account.
Unstructured will create this index for you in your Pinecone account. You can then use this index later as input to your RAG applications
and agentic AI workflows.
1. If you do not already have an Unstructured account, [sign up for free](https://unstructured.io/?modal=try-for-free).
After you sign up, you are automatically signed in to your new Unstructured **Let's Go** account, at [https://platform.unstructured.io](https://platform.unstructured.io).
To sign up for a **Business** account instead, [contact Unstructured Sales](https://unstructured.io/?modal=contact-sales), or [learn more](/pipelines/overview#how-am-i-billed%3F).
2. If you have an Unstructured **Let's Go**, **Pay-As-You-Go**, or **Business SaaS** account and are not already signed in, sign in to your account at [https://platform.unstructured.io](https://platform.unstructured.io).
For other types of **Business** accounts, see your Unstructured account administrator for sign-in instructions,
or email Unstructured Support at [support@unstructured.io](mailto:support@unstructured.io).
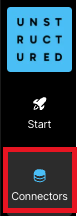
3. On the sidebar, click **Connectors**.
## Step 2: Create the Pinecone destination connector
In this step, you create a Pinecone destination connector in your Unstructured account. This destination connector
is used by Unstructured to send processed data about your documents into a Pinecone dense serverless index in your Pinecone account.
Unstructured will create this index for you in your Pinecone account. You can then use this index later as input to your RAG applications
and agentic AI workflows.
1. If you do not already have an Unstructured account, [sign up for free](https://unstructured.io/?modal=try-for-free).
After you sign up, you are automatically signed in to your new Unstructured **Let's Go** account, at [https://platform.unstructured.io](https://platform.unstructured.io).
To sign up for a **Business** account instead, [contact Unstructured Sales](https://unstructured.io/?modal=contact-sales), or [learn more](/pipelines/overview#how-am-i-billed%3F).
2. If you have an Unstructured **Let's Go**, **Pay-As-You-Go**, or **Business SaaS** account and are not already signed in, sign in to your account at [https://platform.unstructured.io](https://platform.unstructured.io).
For other types of **Business** accounts, see your Unstructured account administrator for sign-in instructions,
or email Unstructured Support at [support@unstructured.io](mailto:support@unstructured.io).
3. On the sidebar, click **Connectors**.
 4. Click **+ New**.
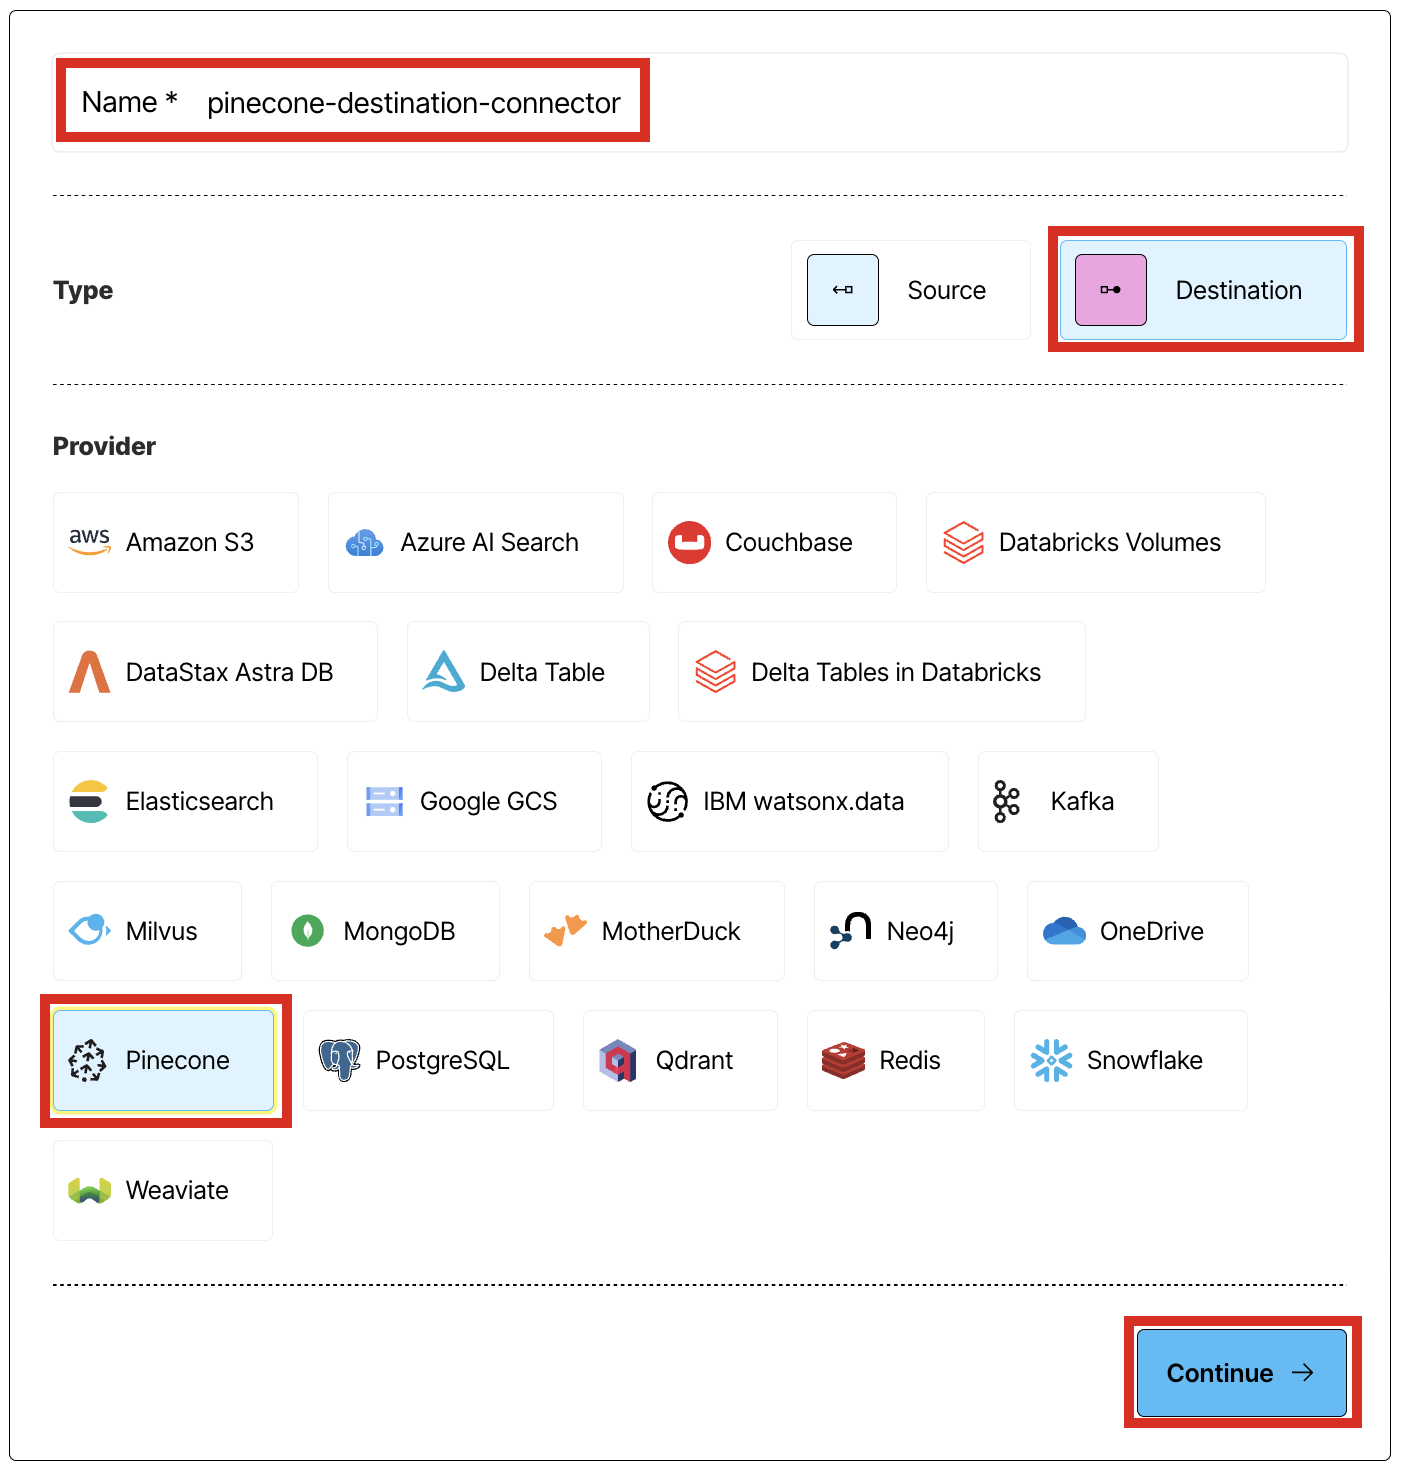
5. Enter some unique name for this connector, for example `pinecone-destination-connector`.
6. For **Type**, click **Destination**.
7. For **Provider**, click **Pinecone**.
8. Click **Continue**.
4. Click **+ New**.
5. Enter some unique name for this connector, for example `pinecone-destination-connector`.
6. For **Type**, click **Destination**.
7. For **Provider**, click **Pinecone**.
8. Click **Continue**.
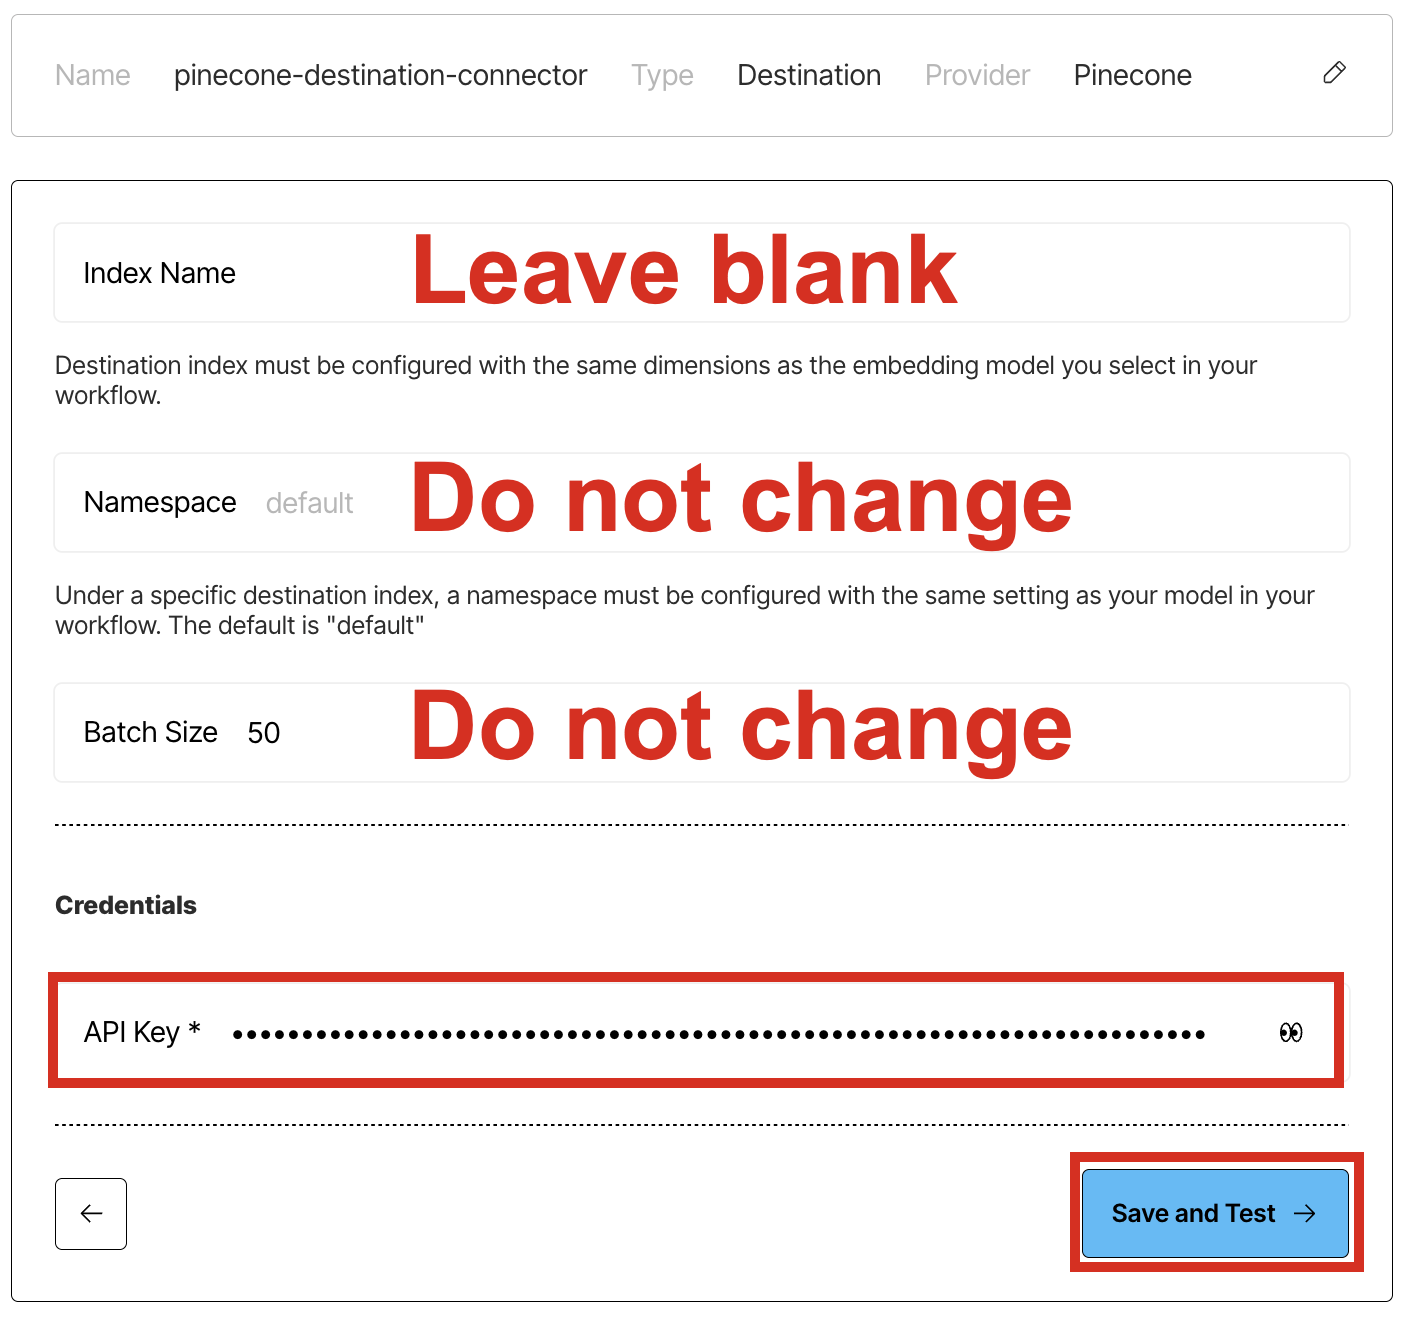
 9. Leave **Index Name** blank.
10. Leave **Namespace** set to the default value of `default`.
11. Leave **Batch Size** set to the default value of `50`.
12. For **API Key**, enter the **API key** you noted in Step 1.
13. Click **Save and Test**, and wait while Unstructured tests the connector.
9. Leave **Index Name** blank.
10. Leave **Namespace** set to the default value of `default`.
11. Leave **Batch Size** set to the default value of `50`.
12. For **API Key**, enter the **API key** you noted in Step 1.
13. Click **Save and Test**, and wait while Unstructured tests the connector.
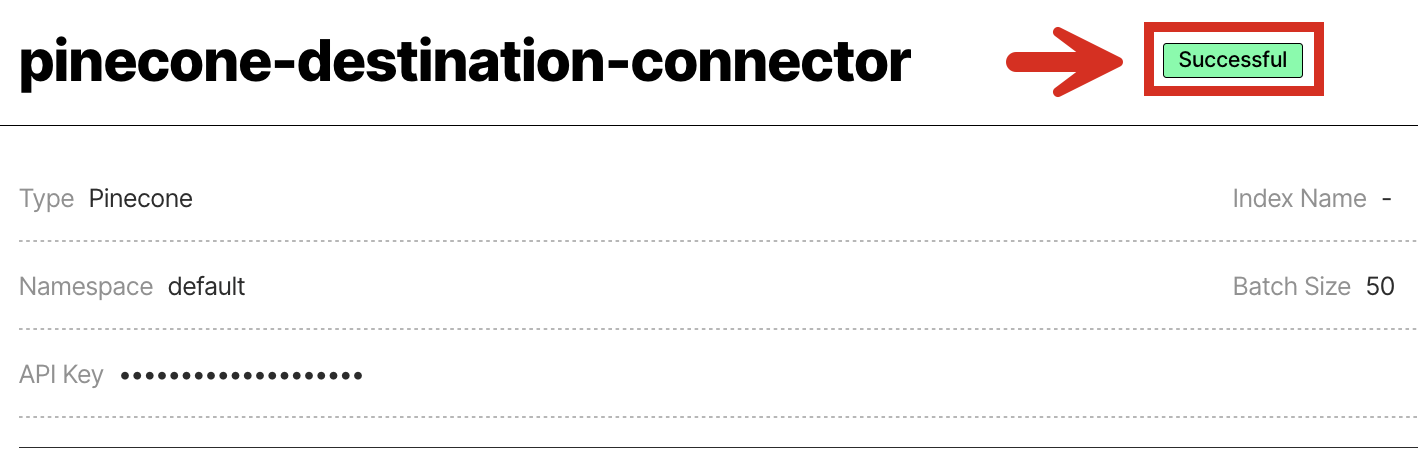
 14. If a green **Successful** message appears, then you have successfully created the connector.
 If, however, a red error message appears, fix the issue, and try this step again.
If you cannot fix the issue, contact Unstructured Support at [support@unstructured.io](mailto:support@unstructured.io).
Congratulations! You have successfully created a Pinecone destination connector in your Unstructured account.
If you are not able to complete these steps, contact Unstructured Support at [support@unstructured.io](mailto:support@unstructured.io).
## Next steps
* If you do not have a source connector in your Unstructured account, then complete the [Dropbox source connector quickstart](/pipelines/sources/dropbox-source-quickstart).
If you're not sure if you have a source connector, click **Connectors** in your Unstructured account's sidebar, and then click **Sources** to see if there are any listed.
* If you already have a source connector, then you can add this Pinecone destination connector as well as your source connector to a workflow in your Unstructured account. To do this:
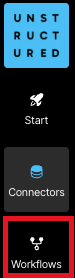
1. Click **Workflows** in your Unstructured account's sidebar.
If, however, a red error message appears, fix the issue, and try this step again.
If you cannot fix the issue, contact Unstructured Support at [support@unstructured.io](mailto:support@unstructured.io).
Congratulations! You have successfully created a Pinecone destination connector in your Unstructured account.
If you are not able to complete these steps, contact Unstructured Support at [support@unstructured.io](mailto:support@unstructured.io).
## Next steps
* If you do not have a source connector in your Unstructured account, then complete the [Dropbox source connector quickstart](/pipelines/sources/dropbox-source-quickstart).
If you're not sure if you have a source connector, click **Connectors** in your Unstructured account's sidebar, and then click **Sources** to see if there are any listed.
* If you already have a source connector, then you can add this Pinecone destination connector as well as your source connector to a workflow in your Unstructured account. To do this:
1. Click **Workflows** in your Unstructured account's sidebar.
 2. Click **New Workflow +**.
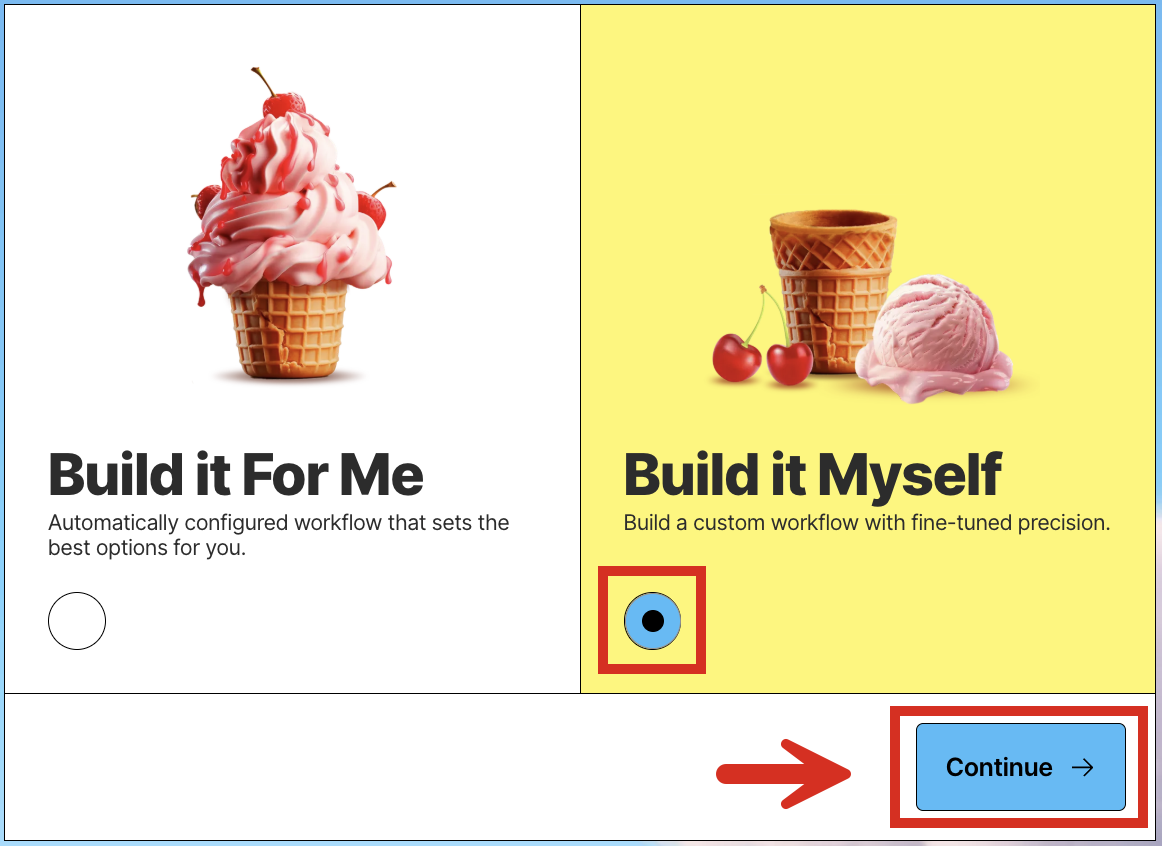
 3. With **Build it Myself** already selected, click **Continue**.
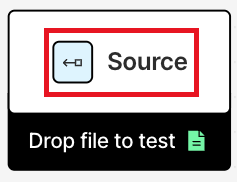
 4. Click the **Source** node. (Do not click **Drop file to test**.)
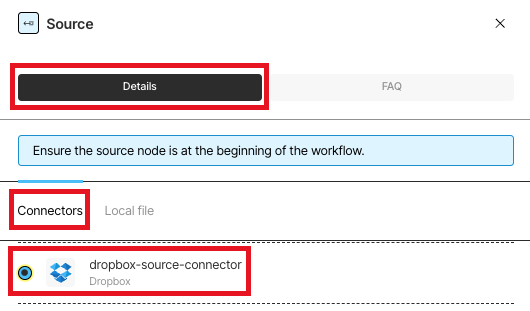
 5. On the **Details** tab, click **Connectors**, and then click the name of your source connector.
 6. Click the **Destination** node.
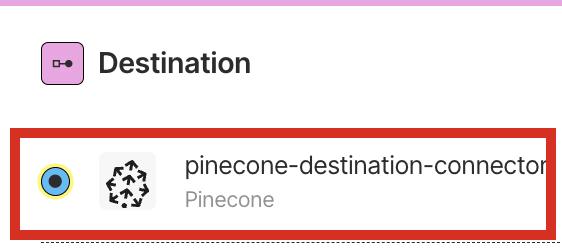
 7. On the **Details** tab, click the name of your Pinecone destination connector.
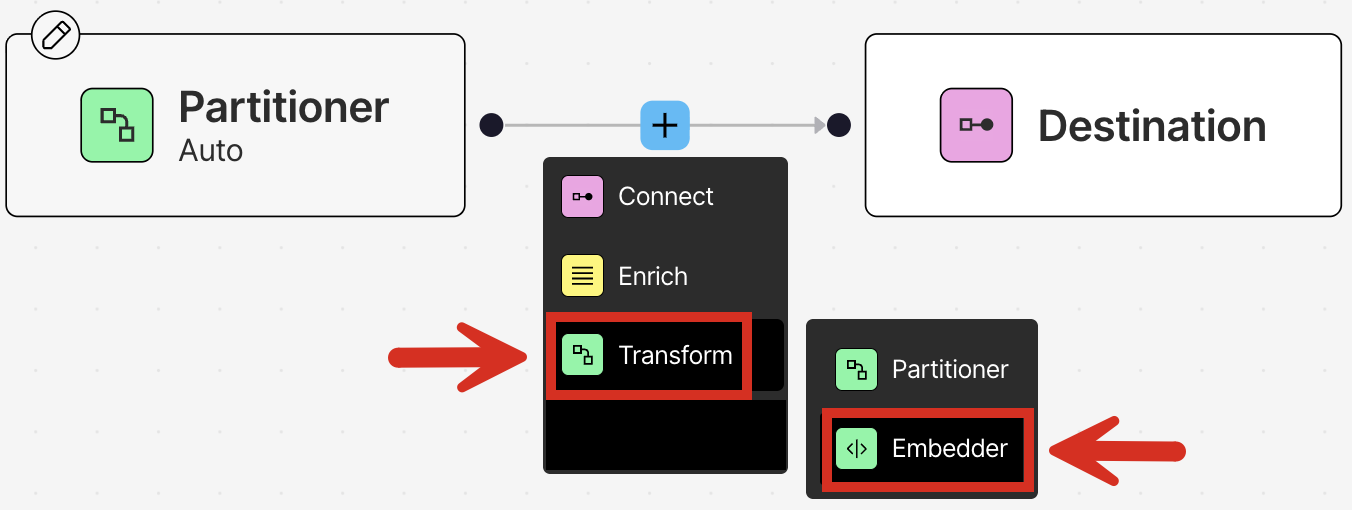
 8. Between the **Partitioner** and **Destination** nodes, click **+**.
 9. Click **Transform > Embedder**.
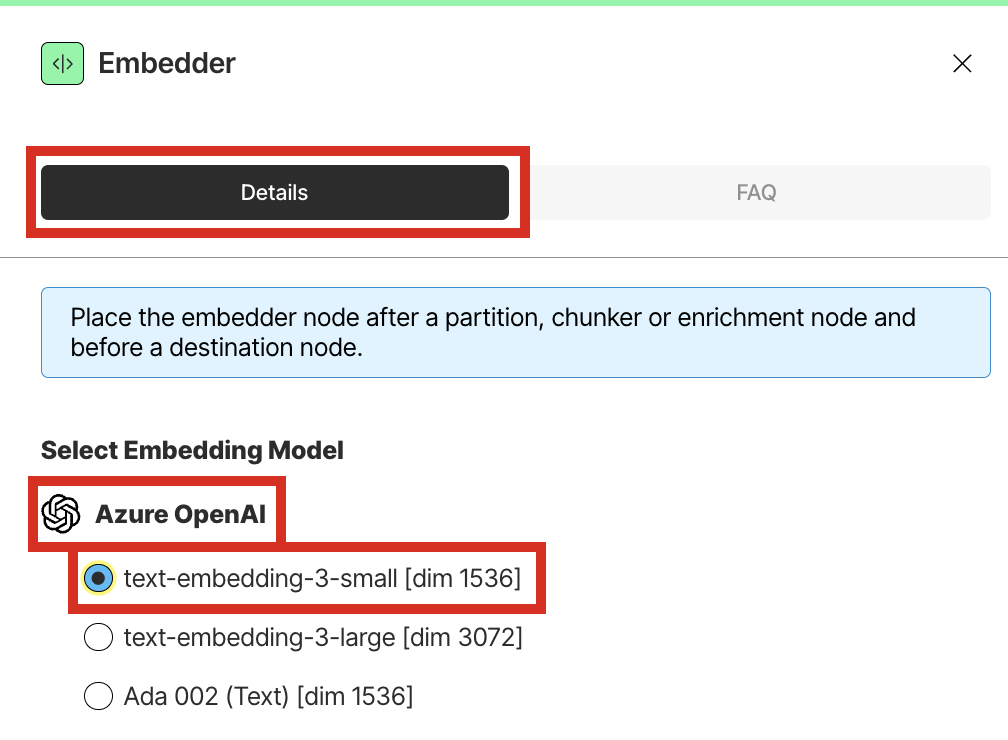
 10. On the **Details** tab, under **Azure OpenAI**, click the radio button labelled **text-embedding-3-small \[dim 1536]**. For a full list of the models available in Unstructured, see [Available models](/api-reference/workflow/models).
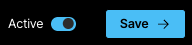
 11. Switch **Active** to on, and then click **Save**.
 12. Next to your workflow's name, click **Run**.
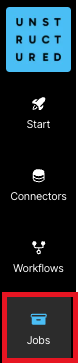
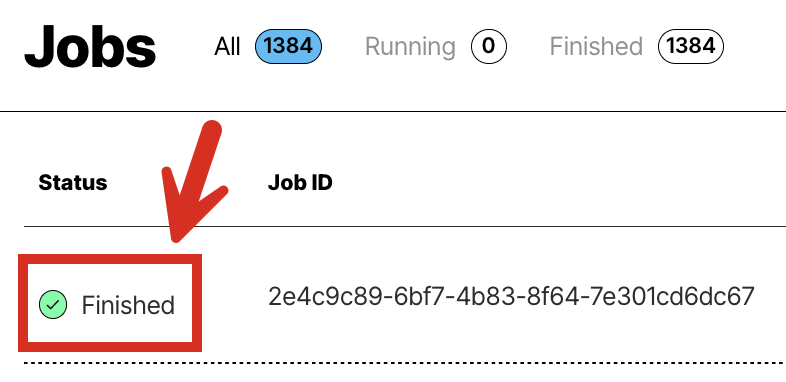
 13. Click **Jobs** in your Unstructured account's sidebar.
 14. Wait until the job shows **Finished** with a green checkmark.
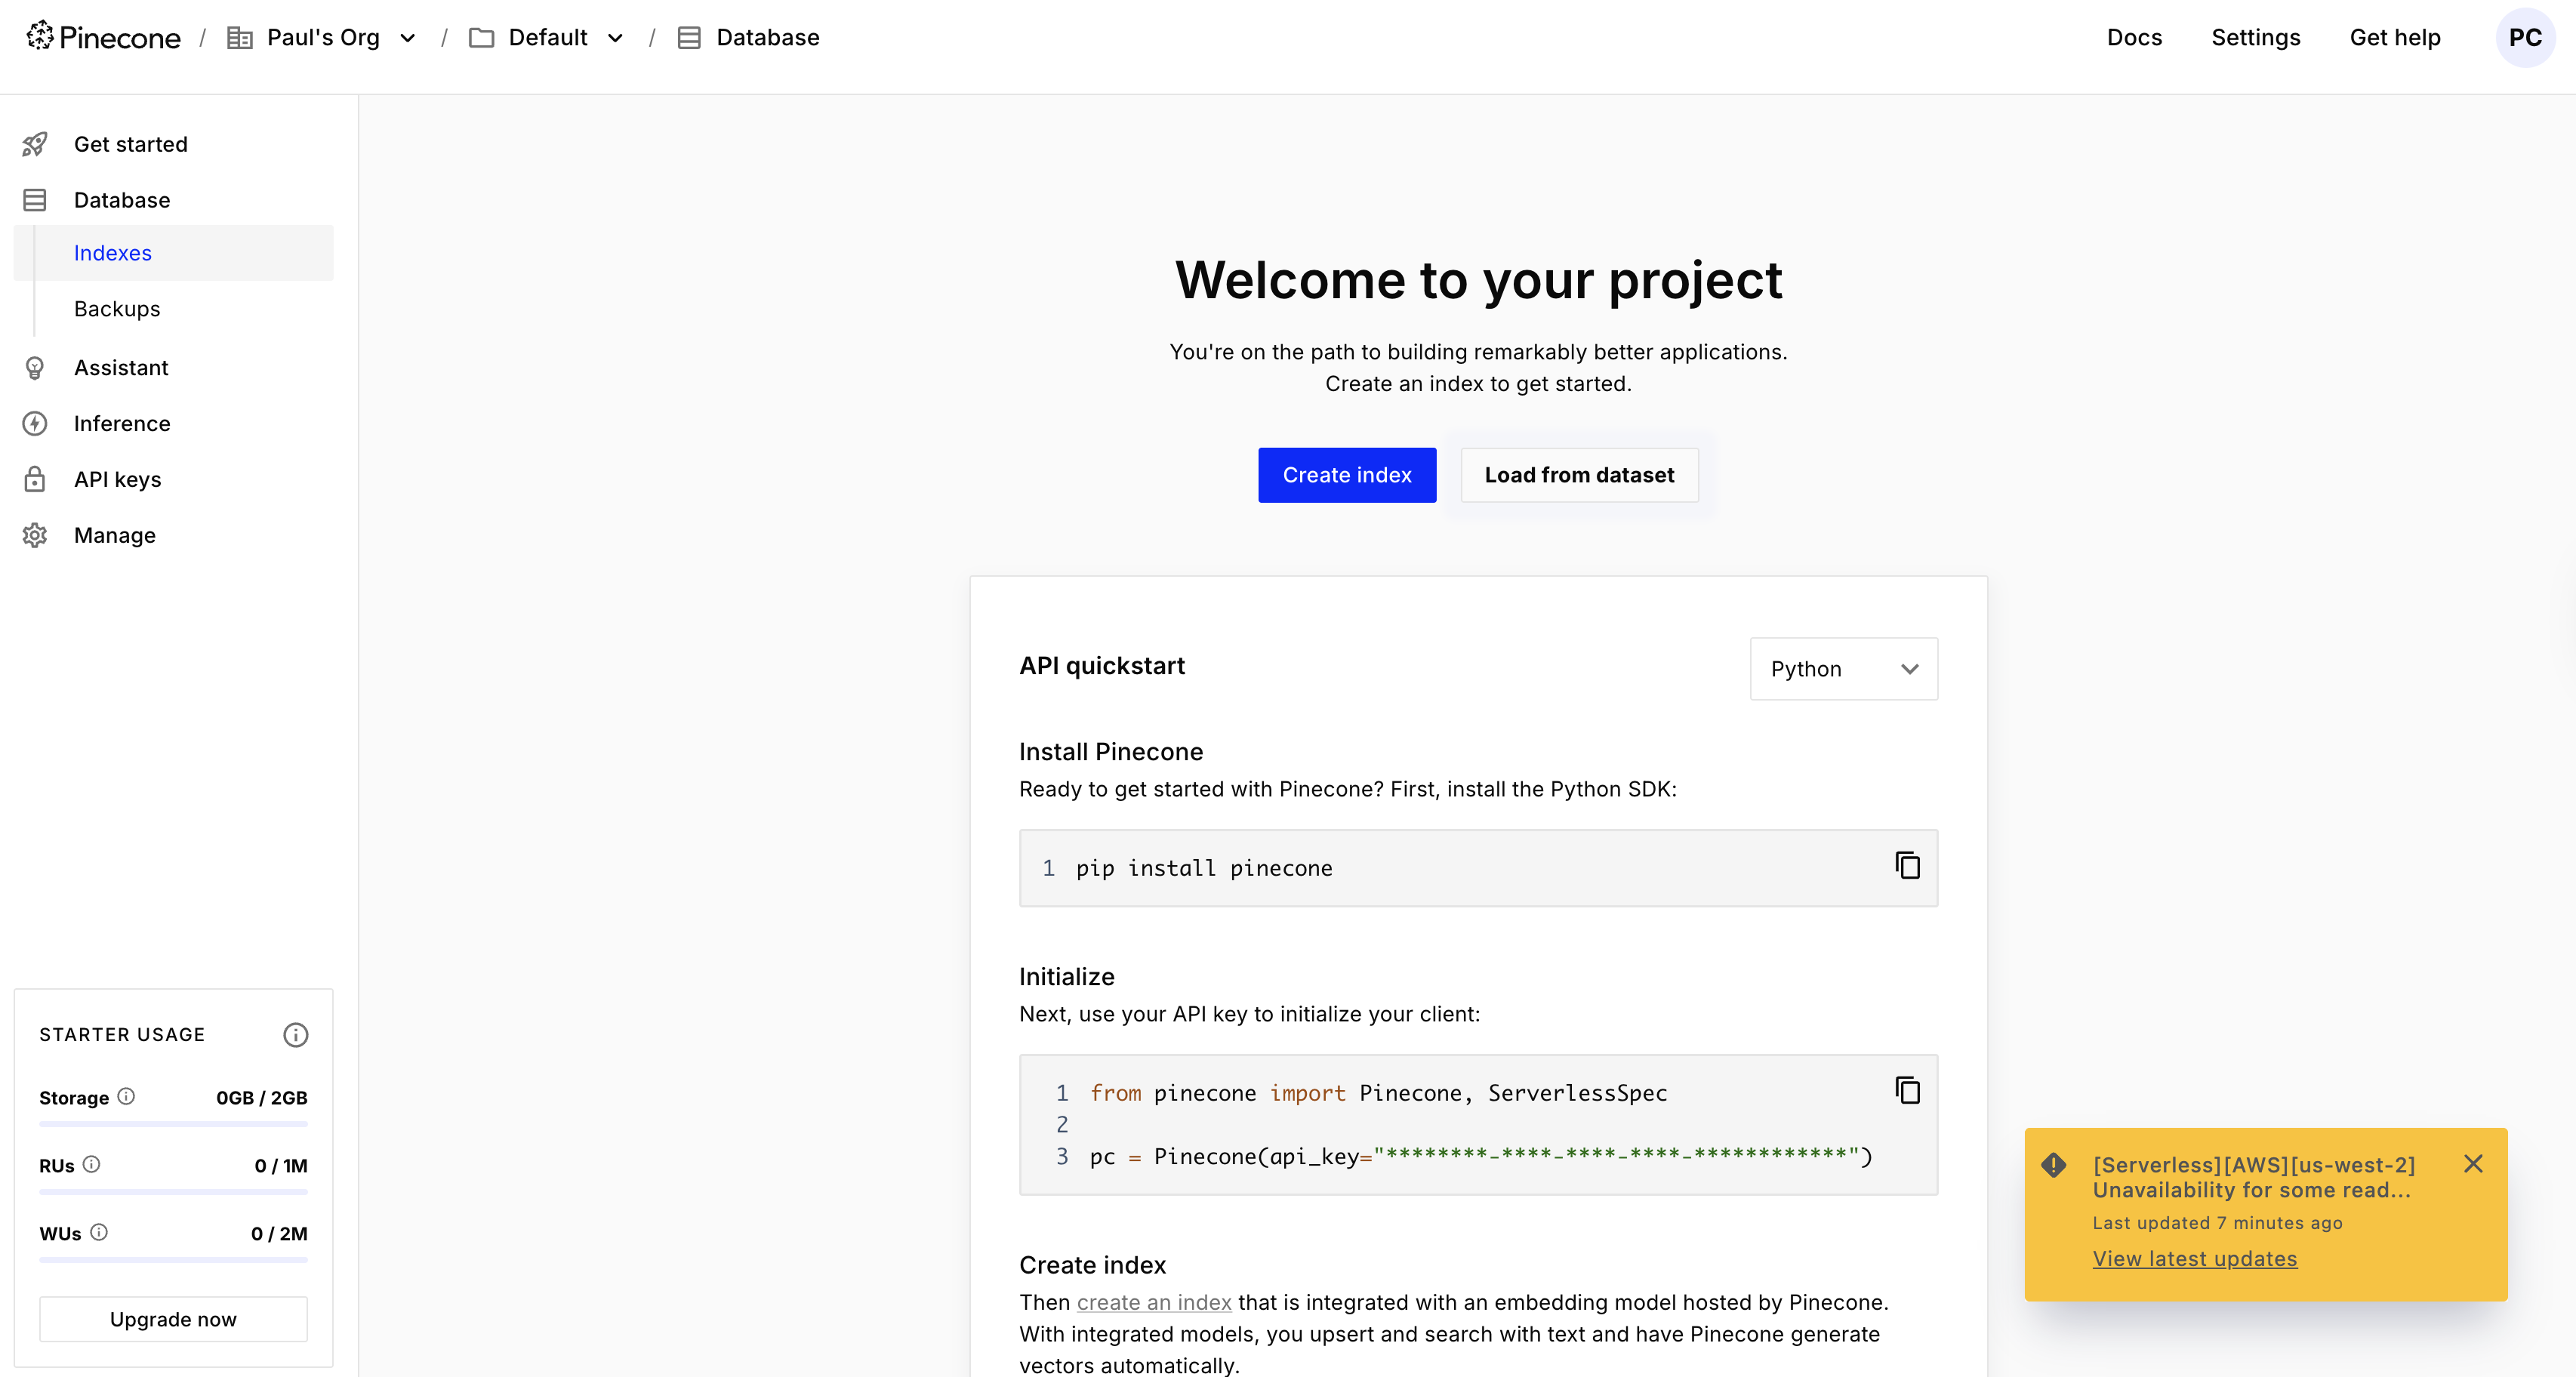
 15. Log in to your Pinecone account, if you are not already logged in. To do this, go to [https://pinecone.io](https://pinecone.io), click
**Log in**, and follow the on-screen instructions to finish logging in.
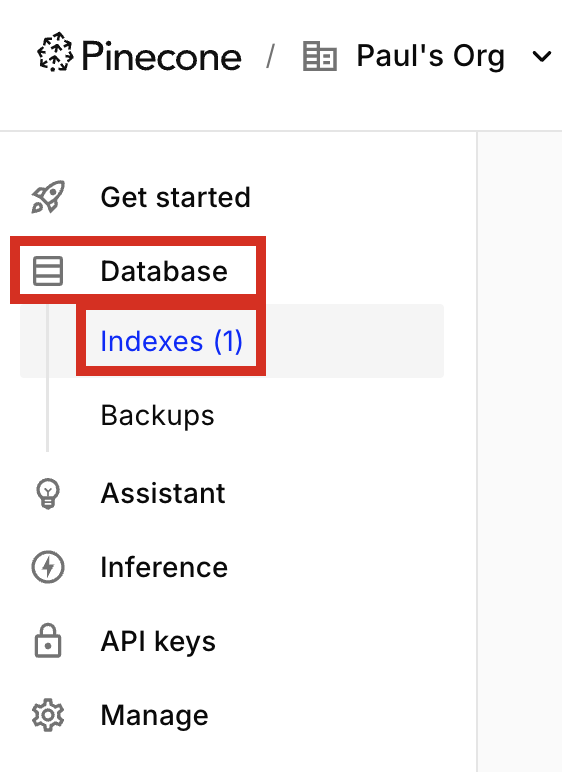
16. On the sidebar, under **Database**, click **Indexes**.
15. Log in to your Pinecone account, if you are not already logged in. To do this, go to [https://pinecone.io](https://pinecone.io), click
**Log in**, and follow the on-screen instructions to finish logging in.
16. On the sidebar, under **Database**, click **Indexes**.
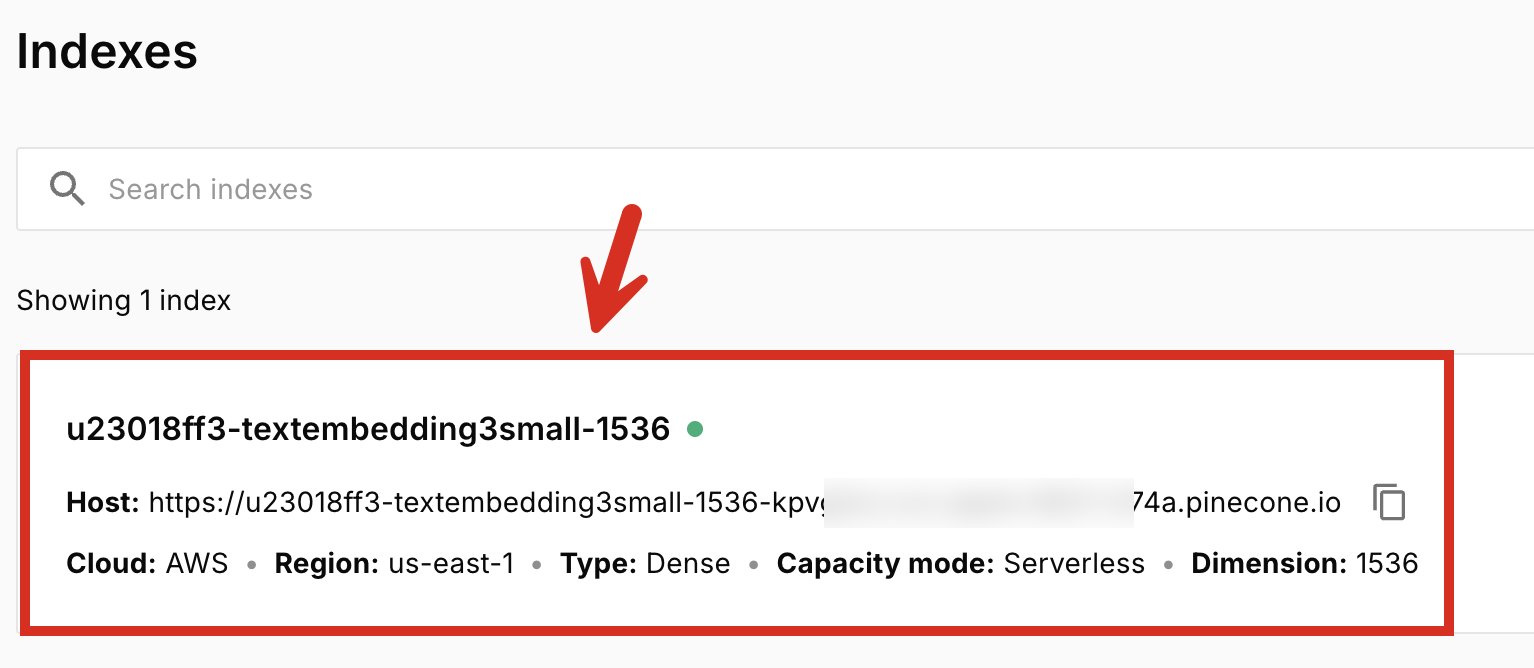
 17. Click the name of the index that Unstructured created. The name should look like this: `u-textembedding3-small-1536`.
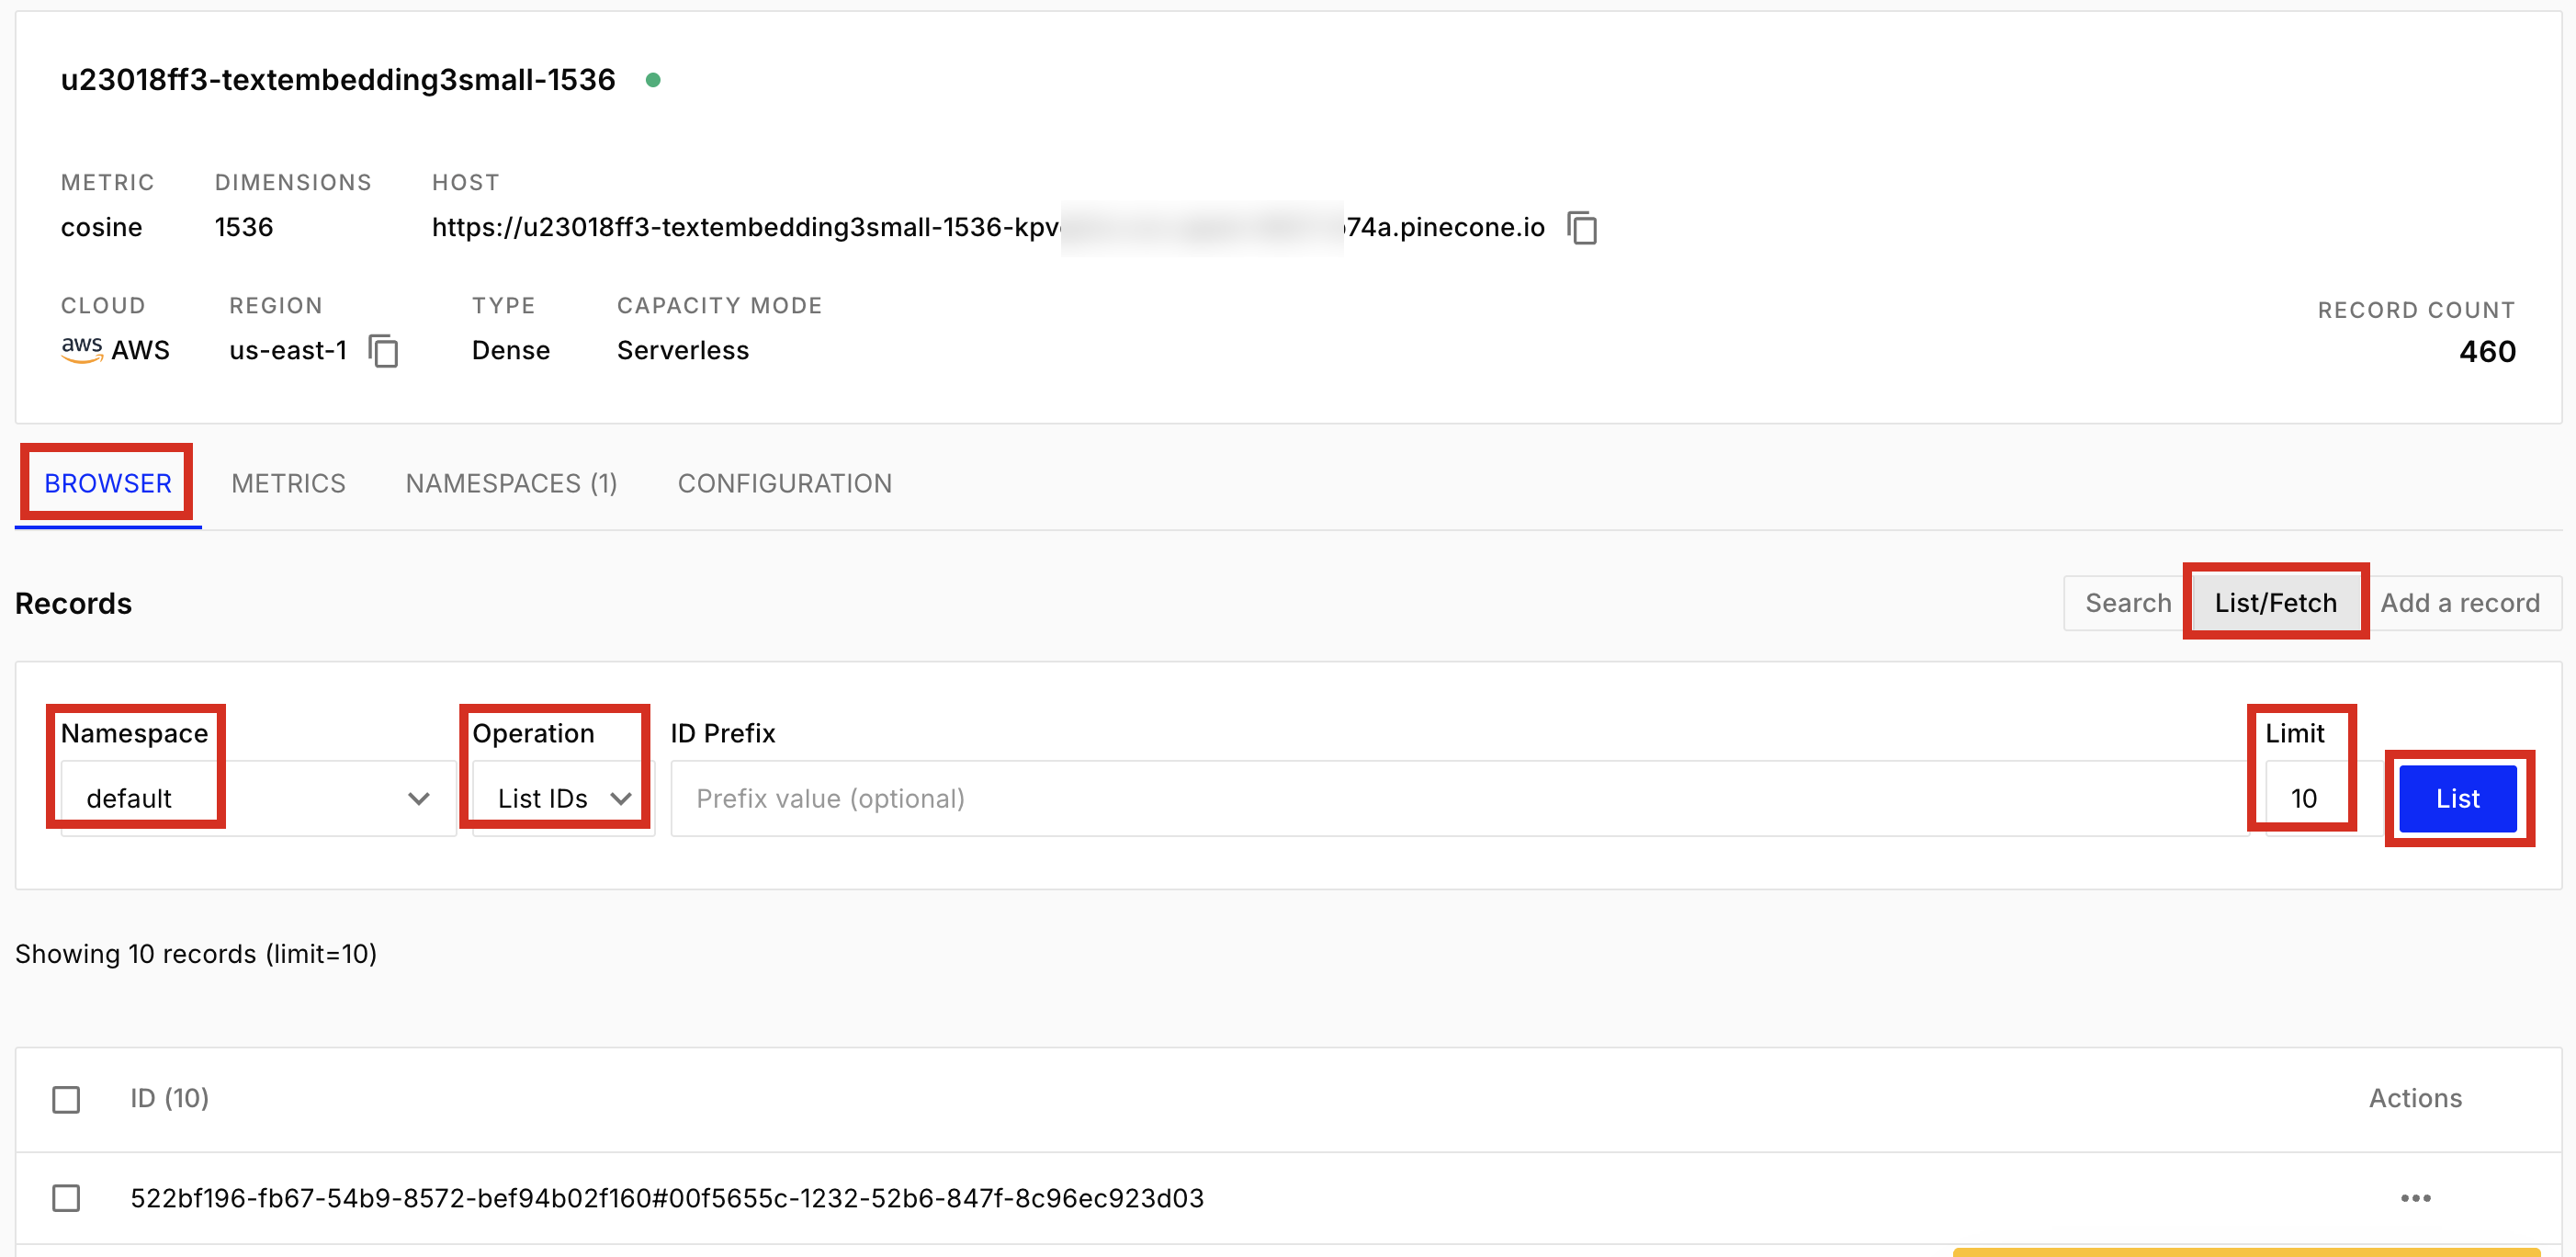
 18. On the **Browser** tab, click **List/Fetch**.
19. For **Namespace**. select **default**.
20. For **Operation**, select **List IDs**.
21. For **Limit**, enter \`10.
22. Click **List**.
18. On the **Browser** tab, click **List/Fetch**.
19. For **Namespace**. select **default**.
20. For **Operation**, select **List IDs**.
21. For **Limit**, enter \`10.
22. Click **List**.
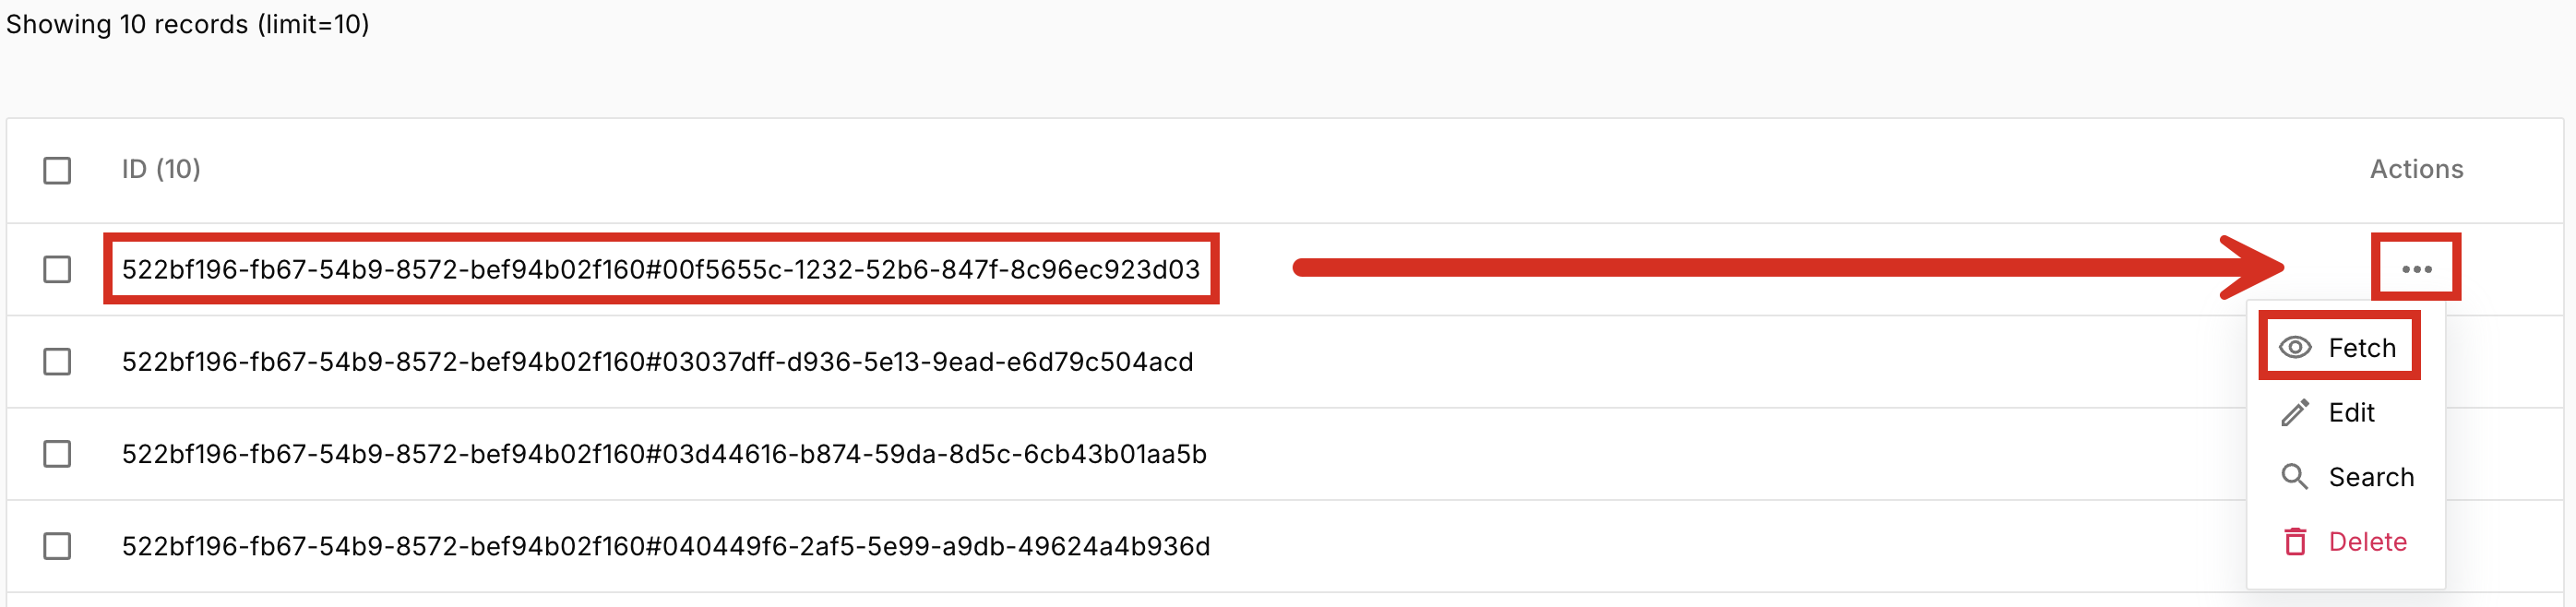
 23. To look at the data and metadata for any of the records that are in the list, click the ellipsis (three dots) icon, and then click **Fetch**.
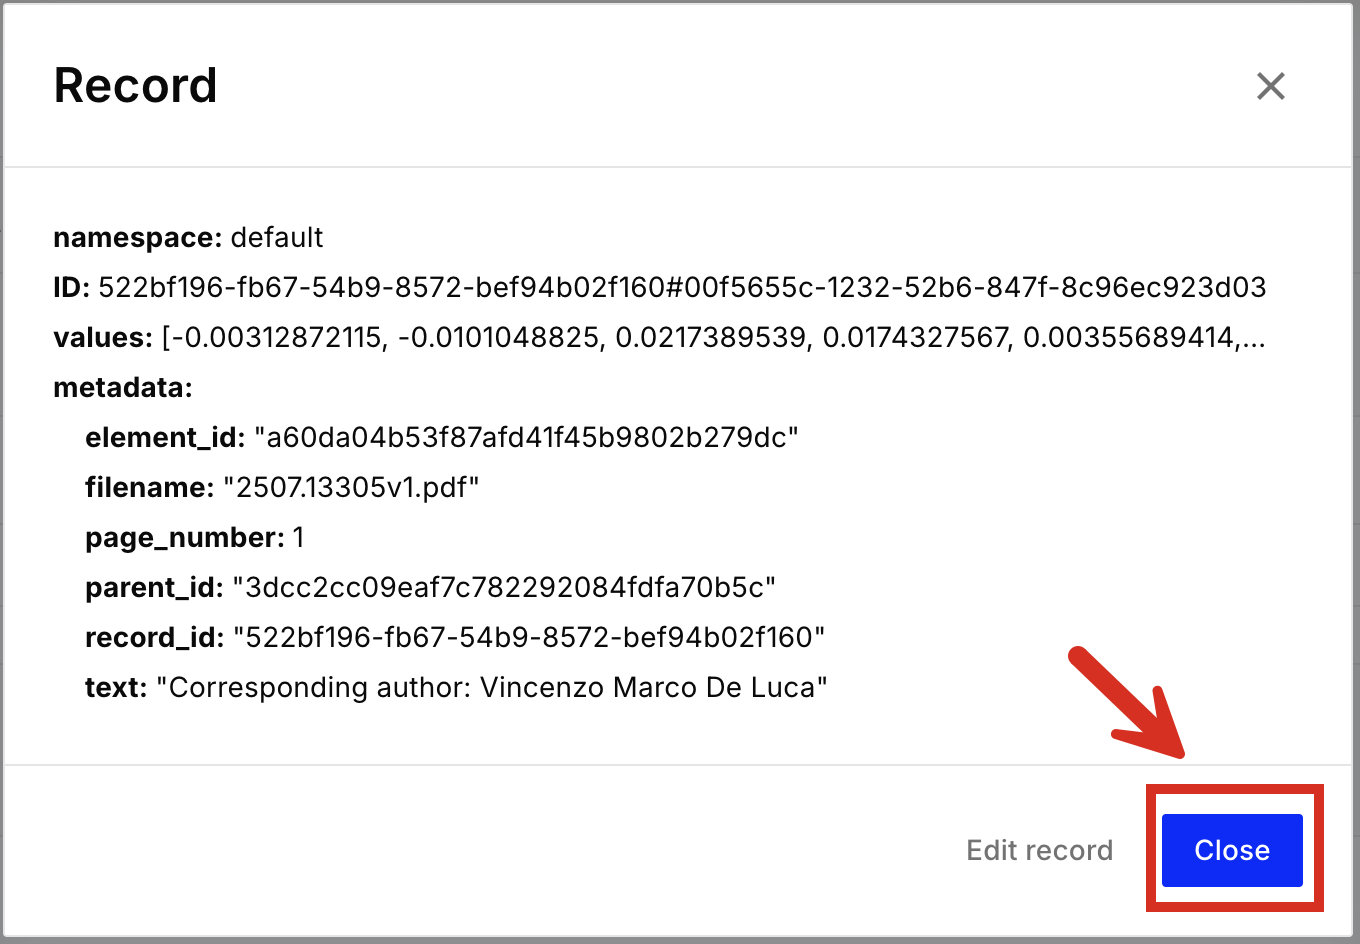
 24. When you are done looking at the record, click **Close**.
 25. To learn how to use this Pinecone index as input to your RAG applications and agentic AI workflows, see resources such as the following:
* [Semantic search](https://docs.pinecone.io/guides/search/semantic-search) in the Pinecone documentation
* [Filter by metadata](https://docs.pinecone.io/guides/search/filter-by-metadata) in the Pinecone documentation
* [Rerank results](https://docs.pinecone.io/guides/search/rerank-results) in the Pinecone documentation
\= [Build a RAG chatbot](https://docs.pinecone.io/guides/get-started/build-a-rag-chatbot) in the Pinecone documentation
* [Pinecone integration with LangChain](https://python.langchain.com/docs/integrations/vectorstores/pinecone/) on the LangChain website
If you are not able to complete these steps, contact Unstructured Support at [support@unstructured.io](mailto:support@unstructured.io).
25. To learn how to use this Pinecone index as input to your RAG applications and agentic AI workflows, see resources such as the following:
* [Semantic search](https://docs.pinecone.io/guides/search/semantic-search) in the Pinecone documentation
* [Filter by metadata](https://docs.pinecone.io/guides/search/filter-by-metadata) in the Pinecone documentation
* [Rerank results](https://docs.pinecone.io/guides/search/rerank-results) in the Pinecone documentation
\= [Build a RAG chatbot](https://docs.pinecone.io/guides/get-started/build-a-rag-chatbot) in the Pinecone documentation
* [Pinecone integration with LangChain](https://python.langchain.com/docs/integrations/vectorstores/pinecone/) on the LangChain website
If you are not able to complete these steps, contact Unstructured Support at [support@unstructured.io](mailto:support@unstructured.io).