Local file quickstart
This quickstart shows how, in just a few minutes, you can use Unstructured Pipelines to quickly and easily see Unstructured’s best-in-class transformation results for a single file that is stored on your local computer. If you do not already have an Unstructured account, sign up for free. After you sign up, you are automatically signed in to your new Unstructured Let’s Go account, at https://platform.unstructured.io.If you already have an Unstructured Pay-As-You-Go or Business SaaS account, you are already signed up for Unstructured.
Sign in to your existing Unstructured Pay-As-You-Go or Business SaaS account, at https://platform.unstructured.io.If you already have an Unstructured dedicated instance or in-VPC deployment, your sign-in link will be unique to your deployment.
If you’re not sure what your unique sign-in link is, see your Unstructured account administrator, or request support.
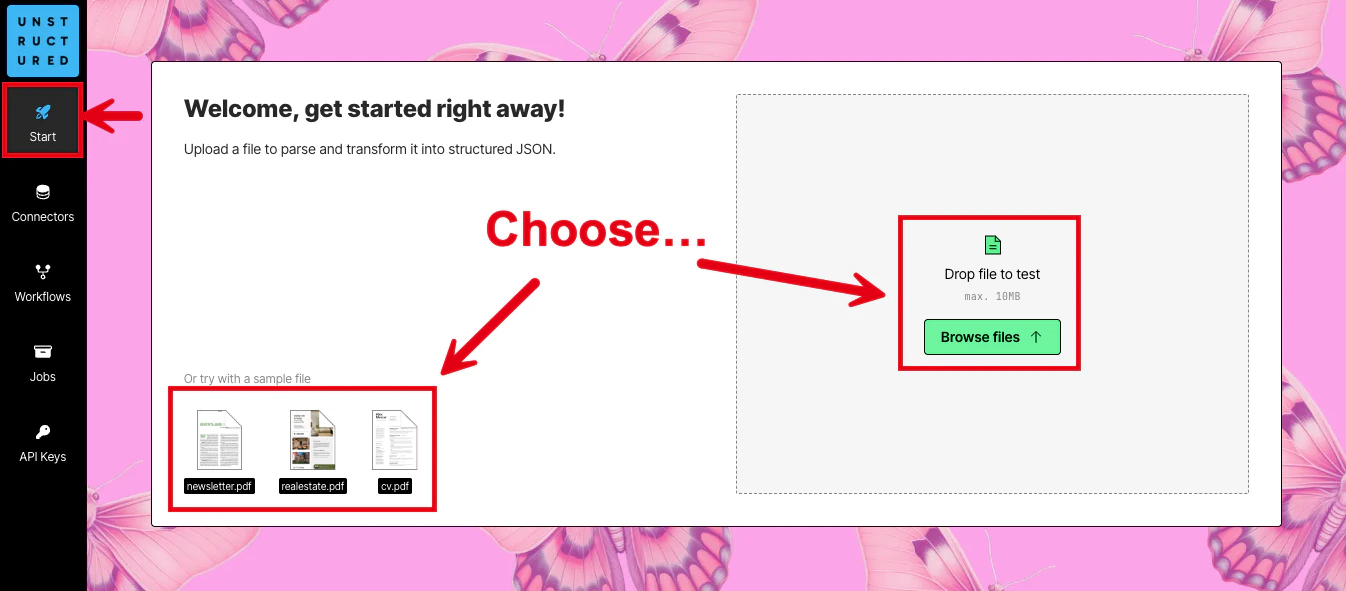
- After you are signed in, the Start page appears.
-
In the Welcome area, do one of the following:
- Click one of the sample files, such as realestate.pdf, to have Unstructured parse and transform that sample file.
-
Click Browse files, or drag and drop a file onto Drop file to test, to have Unstructured parse and transform your own file.
If you choose to use your own file, the file must be 50 MB or less in size. Also, the file must be one of the following supported file types:
-
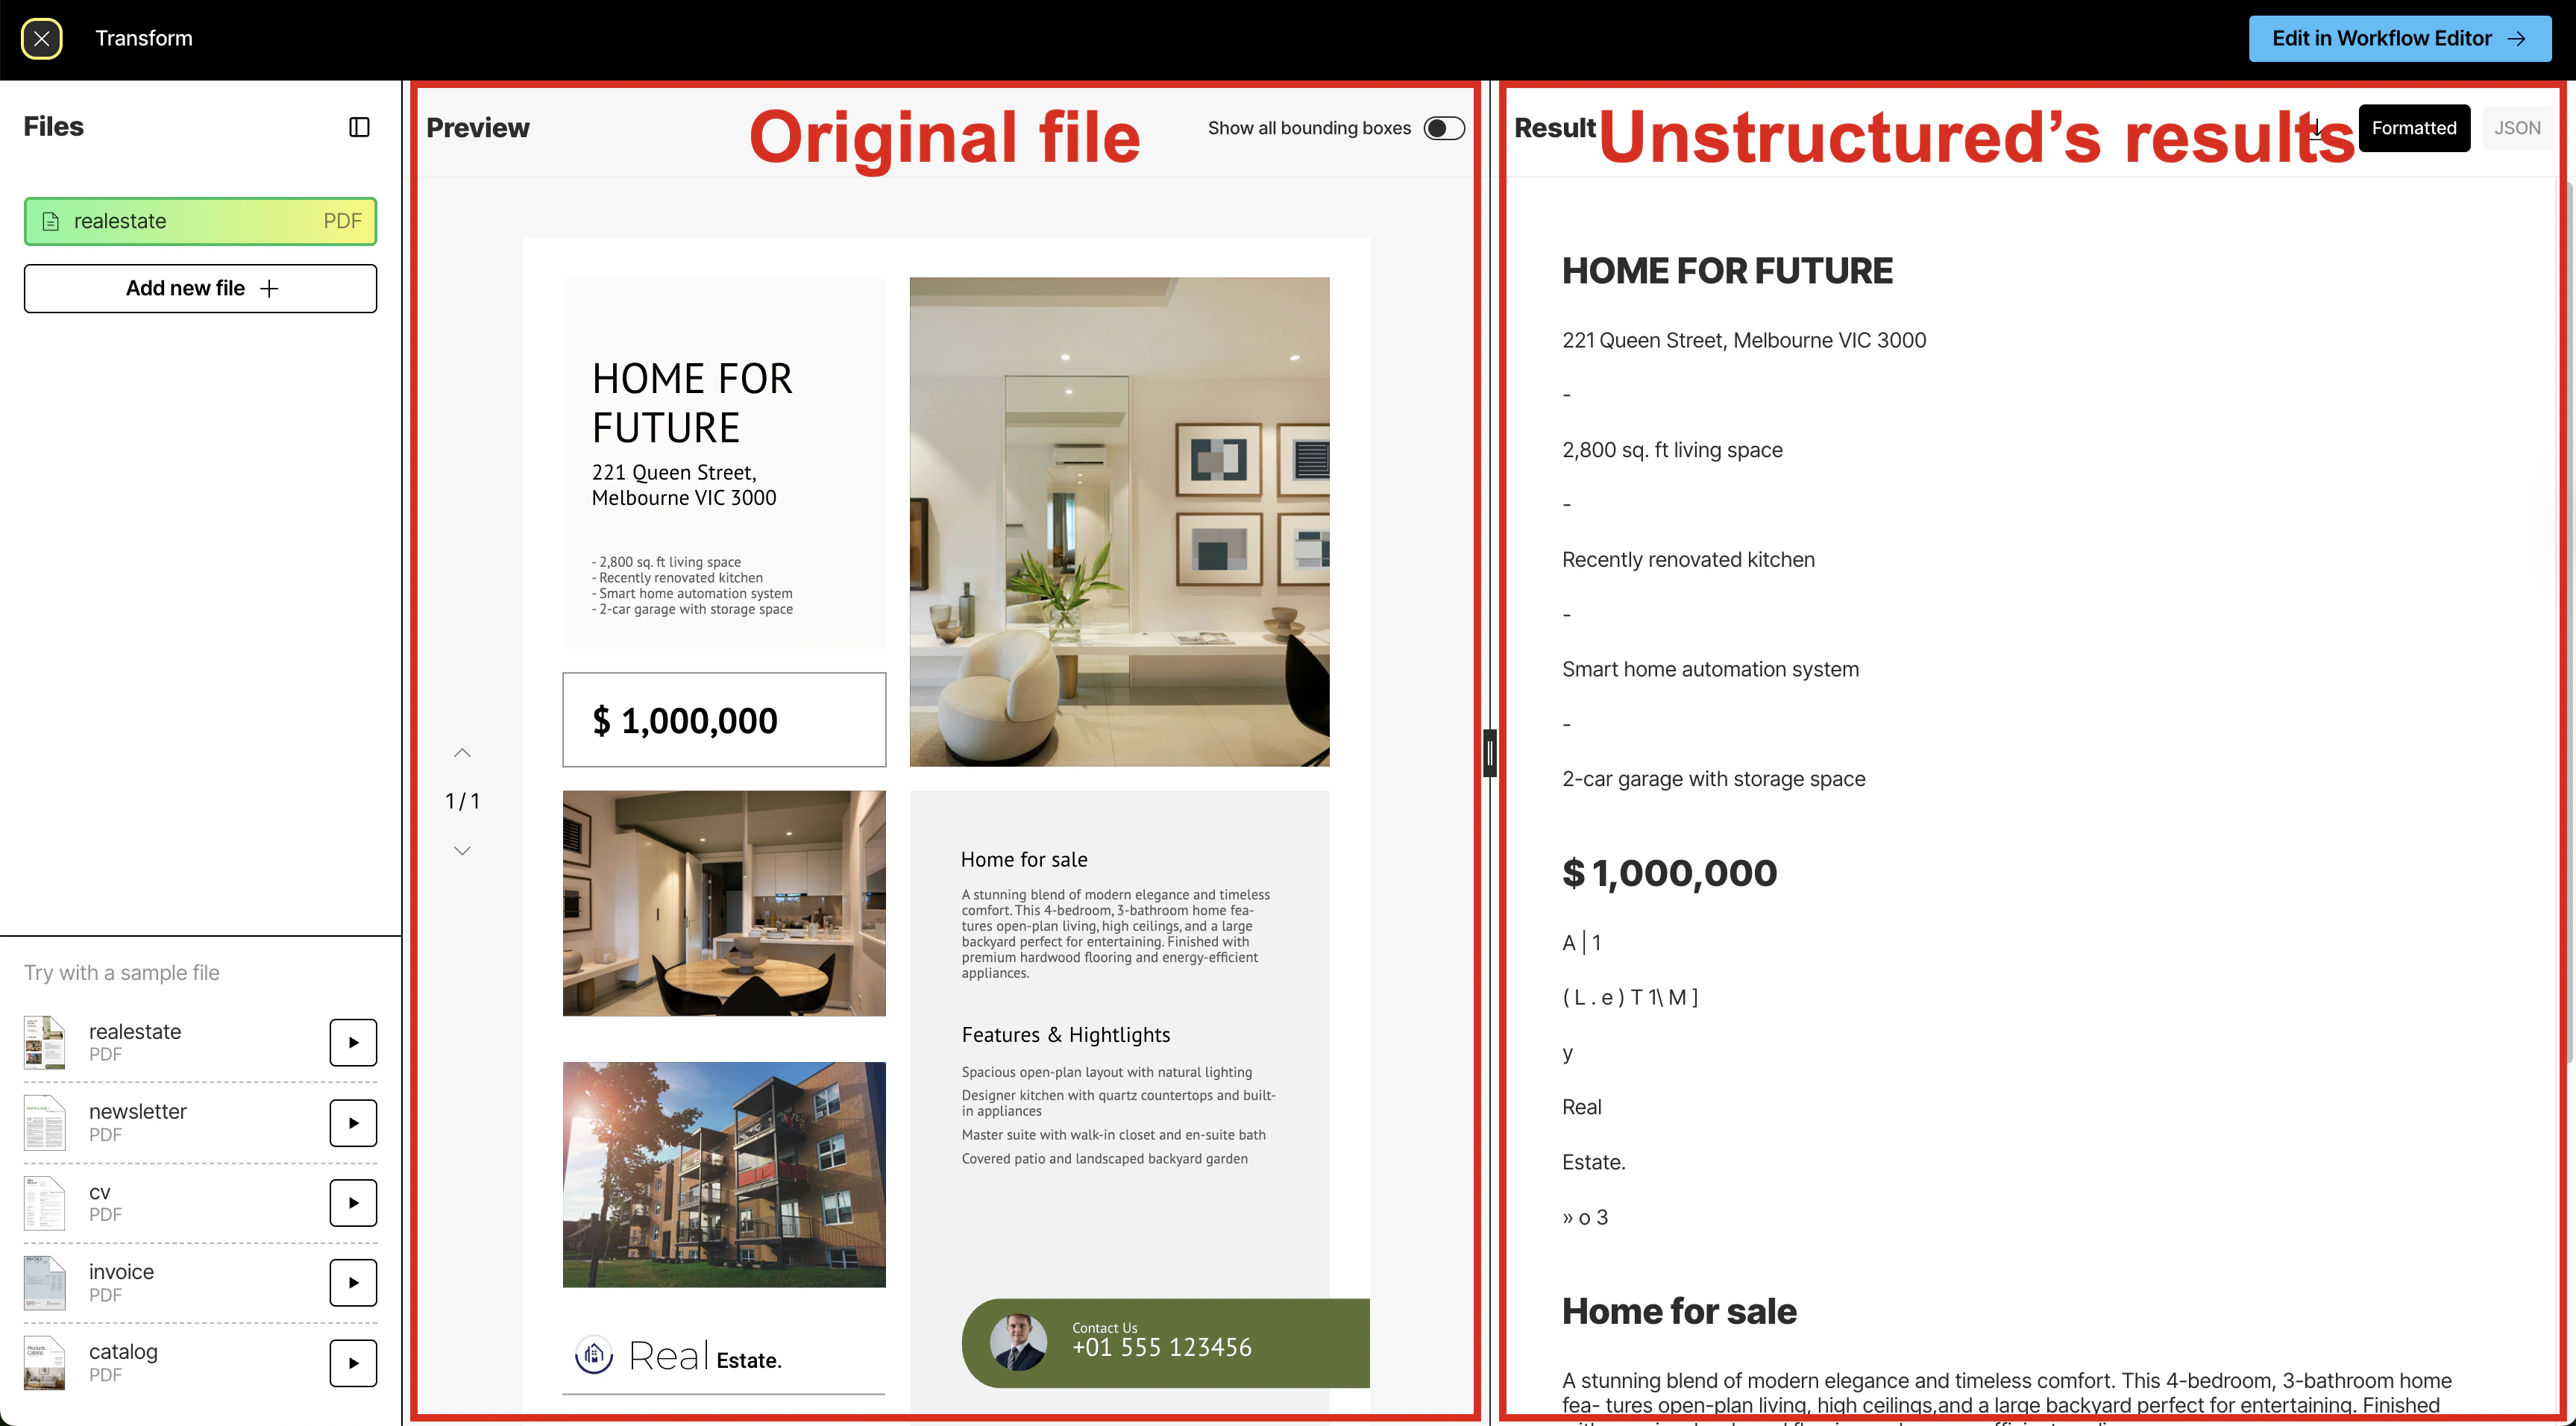
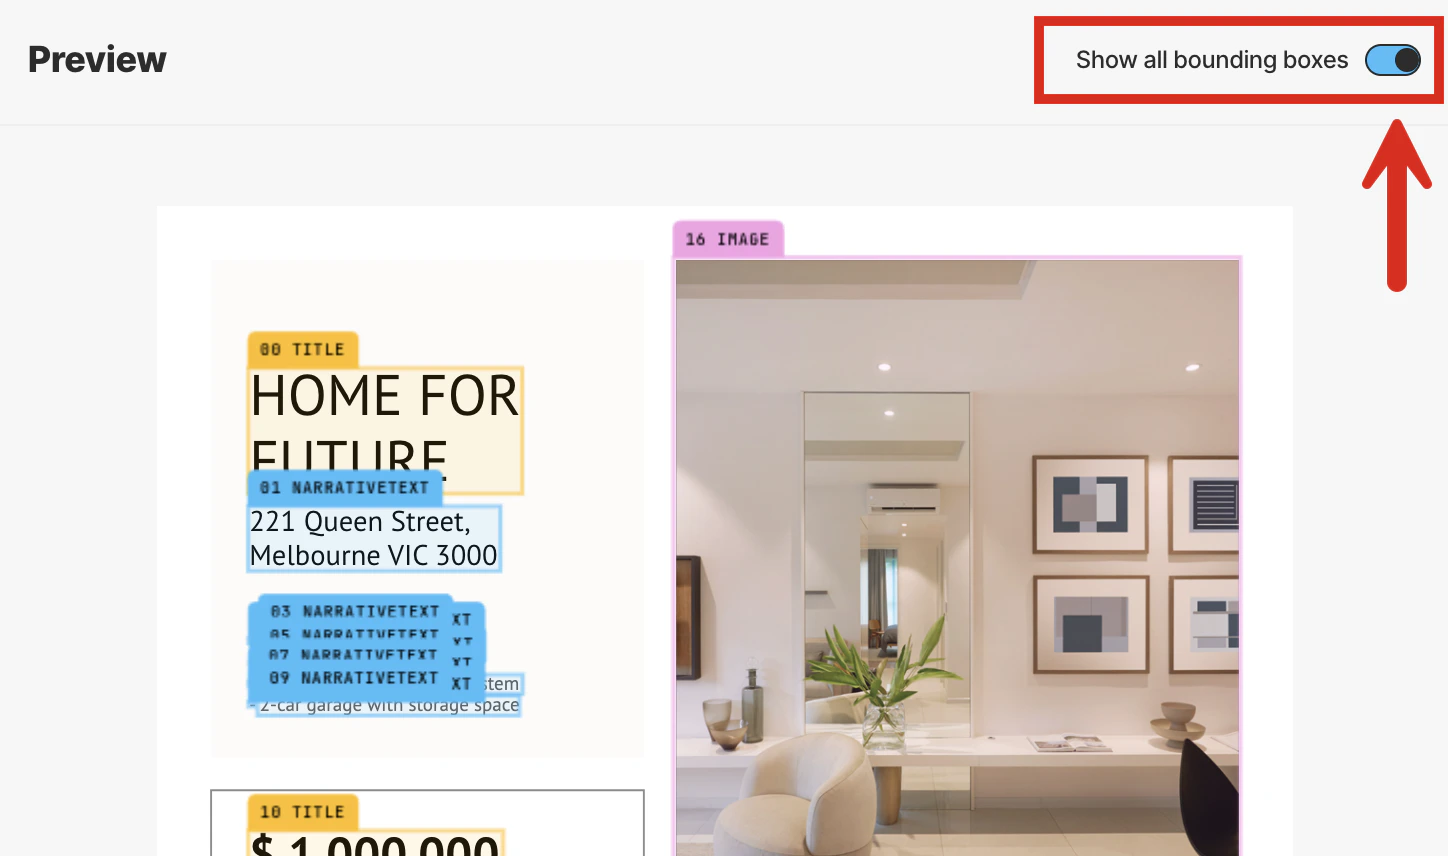
After Unstructured has finished parsing and transforming the file (a process known as
partitioning), you will see the file’s contents in the
Preview pane in the center and Unstructured’s results in the Result pane on the right.
-
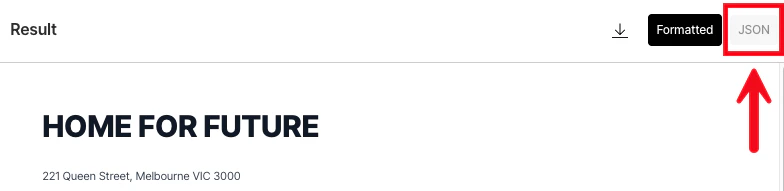
The Result pane shows a formatted view of Unstructured’s results by default. This formatted view is designed for human
readability. To see the underlying JSON view of the results, which is designed for RAG and agentic AI,
click JSON at the top of the Result pane.
Learn about what’s in the JSON view.
-
Unstructured’s initial results are based on its High Res partitioning strategy, which
begins processing the file’s contents and converting these contents into a series of Unstructured
document elements and metadata. This partitioning strategy provides good results overall, depending on the complexity of the file’s contents.
This partitioning strategy also generates a bounding box for each detected object in the file. A bounding box is
an imaginary rectangular box drawn around the object to show its location and extent within the file.
After the High Res partitioning results are shown, Unstructured begins improving these initial results by
using vision language models (VLMs) to apply a series of generative refinements known as enrichments. These
enrichments include:
- An image description enrichment, which uses a VLM to provide a text-based summary of the contents of each detected image.
- A generative OCR enrichment, which uses a VLM to improve the accuracy of each block of initially-processed text.
- A table to HTML enrichment, which uses a VLM to provide an HTML-structured representation of each detected table.


-
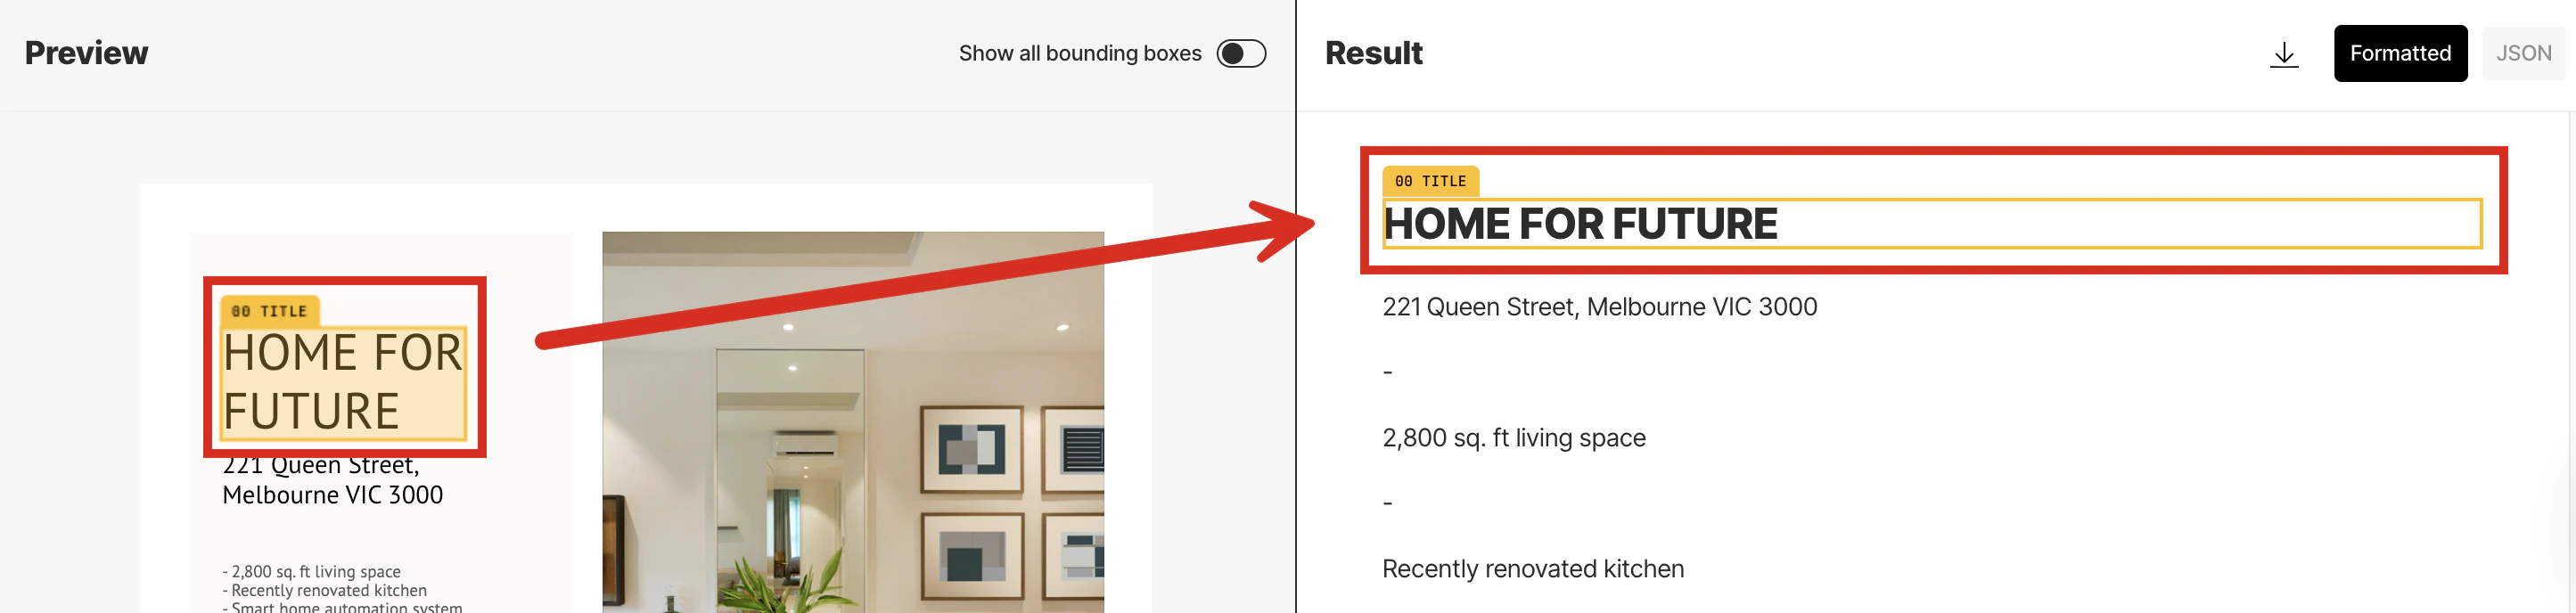
To synchronize the scrolling of the Preview pane’s selected contents with the Result pane’s Formatted results,
rest your mouse pointer anywhere inside the contents of the Preview pane until a bounding box appears.
Then click the bounding box. Unstructured automatically scrolls the Result pane’s Formatted
results to match the selected bounding box. (You cannot synchronize the scrolling of the JSON results.)
-
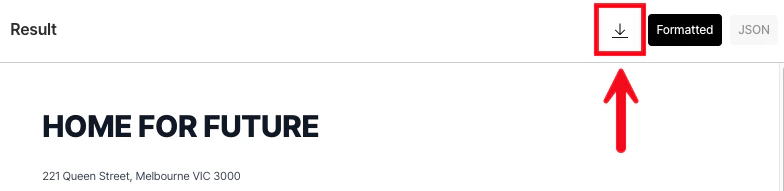
To download the JSON view of the results as a local JSON file, click the download icon to the left of the Formatted and JSON buttons in the Result pane.
(You cannot download the formatted view of the results.)
- To have Unstructured partition a different file, click Add new file in the Files pane on the left, and then browse to and select the target file.
- To view the results for a file that was previously partitioned during this session, click the file’s name in the Recent files list in the Files pane.
- To return to the Start page, click the X (close) button at the left on the title bar, next to Transform.
-
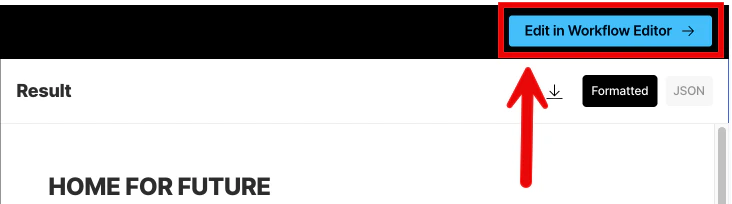
To have Unstructured do more—such as
chunking, embedding,
applying additional kinds of enrichments, and
processing larger files and semi-structured data in batches at scale—click
Edit in workflow designer at the right on the title bar, and then skip over to the walkthrough.
- Learn how to extract structured data in a custom format from your local file.
- Learn how to add chunking, embeddings, custom structured data extraction, and additional enrichments to your local file results.
- Learn how to do large-scale batch processing of multiple files and semi-structured data that are stored in remote locations instead.
- Learn more about Unstructured Pipelines.
Remote quickstart
The following quickstart shows you how to use Unstructured Pipelines to process remote files (or data). The requirements are as follows.- A compatible source (input) location that contains your data for Unstructured to process. See the list of supported source types. If your source (input) location is not in this list, or if you do not yet have any source locations for Unstructured to process, stop here and skip over to the Dropbox source connector quickstart instead. This quickstart guides you through the process of creating a free Dropbox account, uploading your files to Dropbox, and creating a source connector to connect Unstructured to those files.
- For document-based source locations, compatible files in that location. See the list of supported file types. If you do not have any files available, you can download some from the example-docs folder in the Unstructured repo on GitHub.
- A compatible destination (output) location for Unstructured to put the processed data. See the list of supported destination types. If your destination (output) location is not in this list, or if you do not yet have any destination locations for Unstructured to send its processed data, stop here and skip over to the Pinecone destination connector quickstart instead. This quickstart guides you through the process of creating a free Pinecone account and creating a destination connector to connect Unstructured to a Pinecone dense serverless index within your Pinecone account.
1
Sign up and sign in
-
If you do not already have an Unstructured account, sign up for free.
After you sign up, you are automatically signed in to your new Unstructured Let’s Go account, at https://platform.unstructured.io.
To sign up for a Business account instead, contact Unstructured Sales, or learn more.
-
If you have an Unstructured Let’s Go, Pay-As-You-Go, or Business SaaS account and are not already signed in, sign in to your account at https://platform.unstructured.io.
For other types of Business accounts, see your Unstructured account administrator for sign-in instructions, or request support.
2
Set the source (input) location
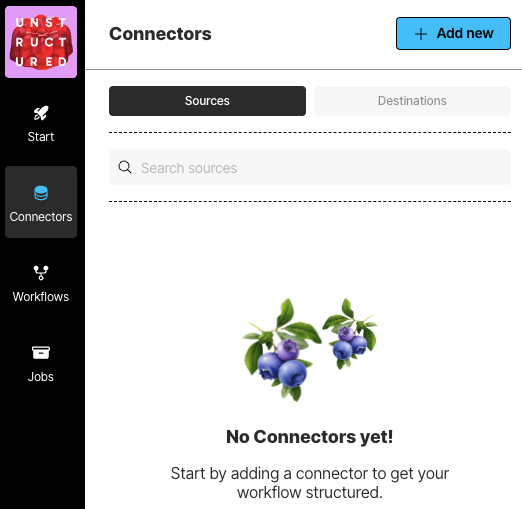
- From your Unstructured dashboard, in the sidebar, click Connectors.
- Click Sources.
- Click New or Create Connector.
- For Name, enter some unique name for this connector.
- In the Provider area, click the source location type that matches yours.
- Click Continue.
- Fill in the fields with the appropriate settings. Learn more.
- If a Continue button appears, click it, and fill in any additional settings fields.
- Click Save and Test.
3
Set the destination (output) location
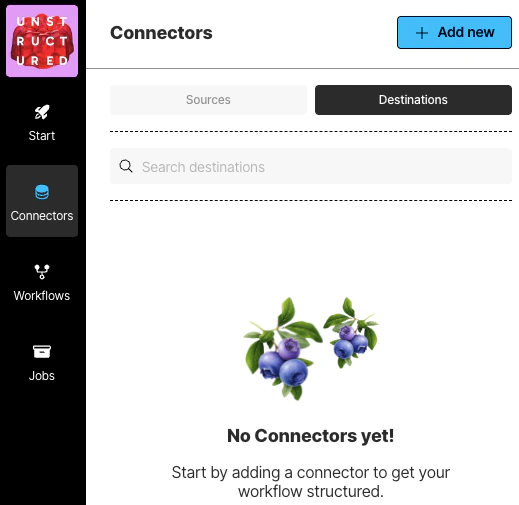
- In the sidebar, click Connectors.
- Click Destinations.
- Click New or Create Connector.
- For Name, enter some unique name for this connector.
- In the Provider area, click the destination location type that matches yours.
- Click Continue.
- Fill in the fields with the appropriate settings. Learn more.
- If a Continue button appears, click it, and fill in any additional settings fields.
- Click Save and Test.
4
Define the workflow
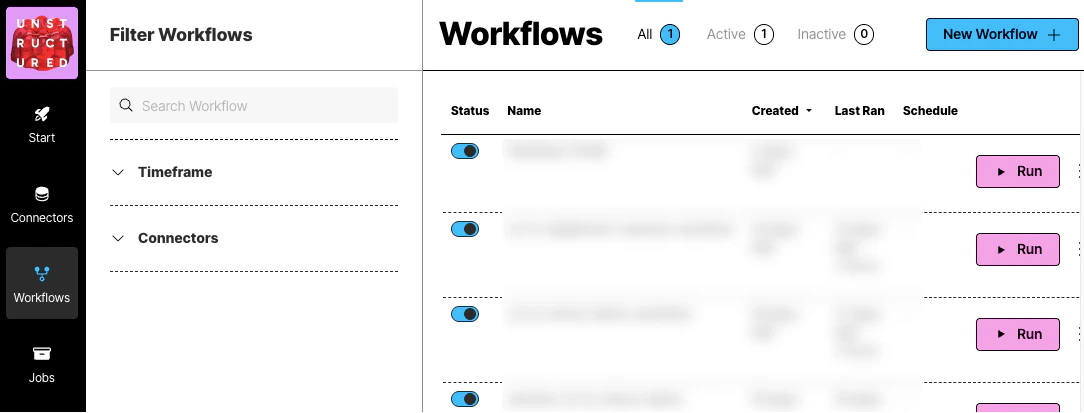
- In the sidebar, click Workflows.
- Click New Workflow.
-
Next to Build it for Me, click Create Workflow.
If a radio button appears instead of Build it for Me, select it, and then click Continue.
- For Workflow Name, enter some unique name for this workflow.
- In the Sources dropdown list, select your source location from Step 3.
-
In the Destinations dropdown list, select your destination location from Step 4.
You can select multiple source and destination locations. Files will be ingested from all of the selected source locations, and the processed data will be delivered to all of the selected destination locations.
- Click Continue.
-
The Reprocess All box applies only to blob storage connectors such as the Amazon S3, Azure Blob Storage, and Google Cloud Storage connectors:
- Checking this box reprocesses all documents in the source location on every workflow run.
-
Unchecking this box causes only new documents that are added to the source location, or existing documents that are updated in the source location (as determined by checking whether the file’s version has changed), since the last workflow run to be processed on future runs. Previously processed documents are not processed again. However:
- Even if this box is unchecked, a renamed file is always treated as a new file, regardless of whether the file’s original contents have changed.
- Even if this box is unchecked, a file that is removed but is added back later with the same file name is processed on future runs only if the file’s contents have changed since the file was originally processed.
- Click Continue.
- If you want this workflow to run on a schedule, in the Repeat Run dropdown list, select one of the scheduling options, and fill in the scheduling settings. Otherwise, select Don’t repeat.
- Click Complete.
5
Process the documents
- If you did not choose to run this workflow on a schedule in Step 5, you can run the workflow now: on the sidebar, click Workflows.
- Next to your workflow from Step 5, click Run.
6
Monitor the processing job
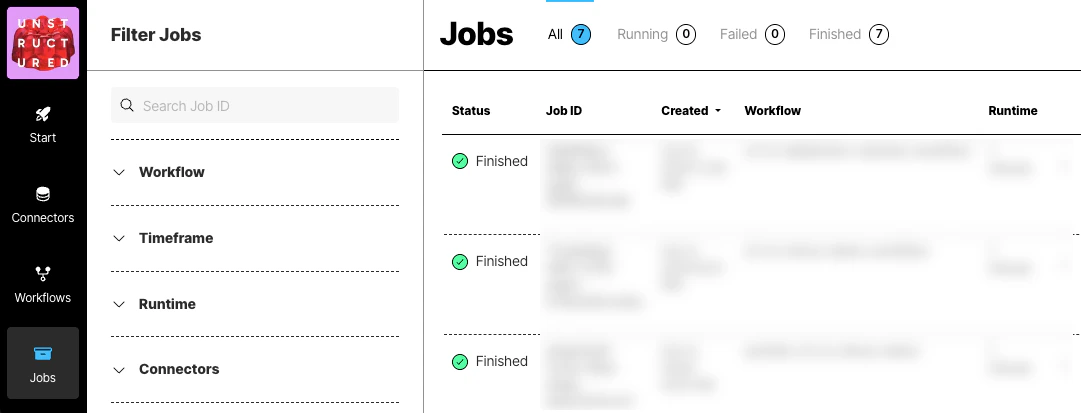
- In the sidebar, click Jobs.
- In the list of jobs, wait for the job’s Status to change to Finished.
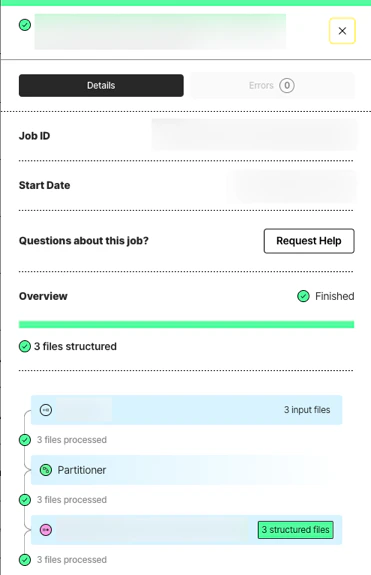
- Click the row for the job.
- After Overview displays Finished, go to the next Step.
7
View the processed data
Go to your destination location to view the processed data.