If you’re new to Unstructured, read this note first.Before you can create a destination connector, you must first sign in to your Unstructured account:
If you already have an Unstructured Starter or Team account and are not already signed in, sign in to your account at
https://platform.unstructured.io. For an Enterprise account, see your Unstructured account administrator for instructions,
or email Unstructured Support at support@unstructured.io.
After you sign in, the Unstructured user interface (UI) appears, which you use to create your destination connector.After you create the destination connector, add it along with a
source connector to a workflow. Then run the worklow as a
job. To learn how, try out the hands-on UI quickstart or watch the 4-minute
video tutorial.You can also create destination connectors with the Unstructured API.
Learn how.If you need help, email Unstructured Support at support@unstructured.io.You are now ready to start creating a destination connector! Keep reading to learn how.
Destination connectors in Unstructured are designed to specify the endpoint for data processed within the platform. These connectors ensure that the transformed and analyzed data is securely and efficiently transferred to a storage system for future use, often to a vector database for tasks that involve high-speed retrieval and advanced data analytics operations.To see your existing destination connectors, on the sidebar, click Connectors, and then click Destinations.To create a destination connector:
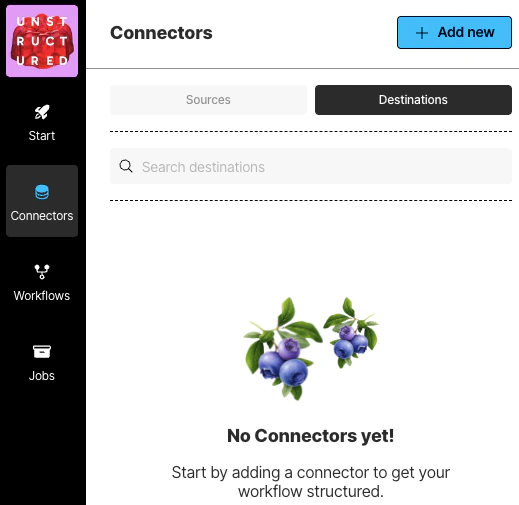
In the sidebar, click Connectors.
Click Destinations.
Cick New or Create Connector.
For Name, enter some unique name for this connector.
In the Provider area, click the destination location type that matches yours.
Click Continue.
Fill in the fields according to your connector type. To learn how, click your connector type in the following list: