

Requirements
Before you begin, you must have the following:- The Postman Desktop Agent installed on your local development machine. Install the Postman Desktop Agent.
- A Postman account. To see if you have an account, log in to Postman. If you do not have an account, sign up for Postman.
- Node.js installed on your local development machine. To see if it is, in your terminal, run
node -vornode --version. Install Node.js.
Install the Transform MCP server
-
From your terminal, authenticate with the Transform MCP server:
A web browser tab will appear, prompting you to authenticate with Transform. Follow the on-screen directions to finish authenticating.
-
After you authenticate, back in your terminal, press
Ctrl + Cto exit and return to your terminal prompt. - Start the Postman Desktop Agent app.
- If you are not already signed in to Postman, in the Desktop Agent’s title bar, click Sign in, and follow the on-screen directions to finish signing in.
-
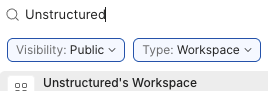
In Desktop Agent’s title bar, in the Search box, enter
Unstructured. - For filters, select Visibility: Public and Type: Workspace.
-
In the list of search results, select Unstructured’s Workspace.
-
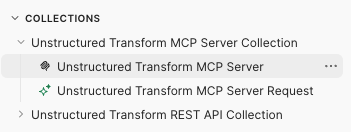
On the sidebar, with the Collections panel expanded, and with the Unstructured Transform MCP Server Collection node expanded within this panel, click Unstructured Transform MCP Server.
-
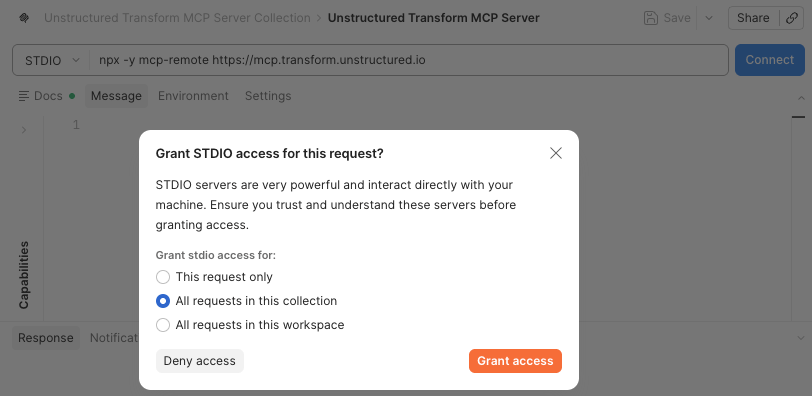
On the Unstructured Transform MCP Server tab, click Connect. If prompted, select All requests in this collection, and then click Grant access.
-
If a Connection failed or similar message appears, go back to your terminal and run the preceding
npxcommand again, and then click Connect again. -
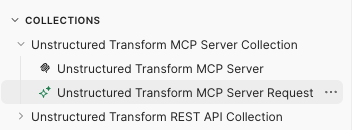
After the Unstructured Transform MCP Server shows as Connected with a green circle icon, on the sidebar, click Unstructured Transform MCP Server Request.
- On the Unstructured Transform MCP Server Request tab, click Tools.
-
If Disabled appears, turn on the toggle to show Tools enabled with a green circle icon. If this does not work, go back to your terminal and run the preceding
npxcommand again, and then turn on the toggle again.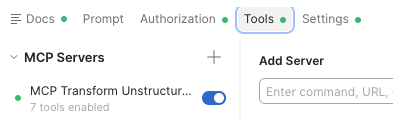
-
In the Add server box, enter the following command, replacing
</path/to/local/folder>with the path to the local folder where the files you want Transform to parse are stored: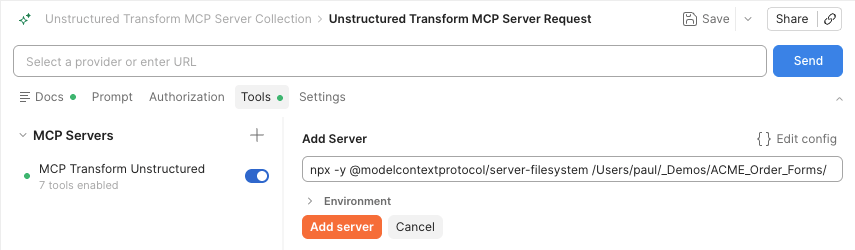
-
Click Add server. It will also show Tools enabled with a green circle icon.
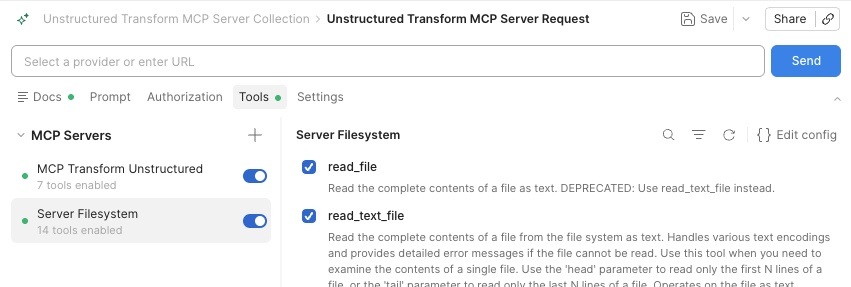
- The Transform MCP server is ready for you to start using.
Parse your source files
Parsing requests have the following limits:- Each file must be of a supported file type.
- Each file must be 50 MB or less in size.
- Each request must have 10 files or fewer.
- Only 5 requests can be running at a time.
- After you install the Transform MCP server, make sure the Unstructured Transform MCP Server Request node is already expanded from the previous section.
-
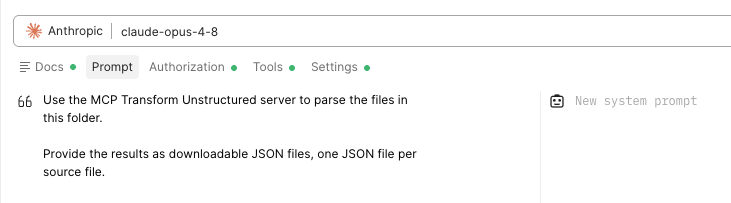
On the Prompt tab, in the New user prompt area, enter the following prompt:
Note that in the preceding prompt,
in this folderrefers to</path/to/local/folder/>that you specified in the previous section.
-
In Select a provider or enter URL, select an AI provider and model that you want to use for this AI session. To learn more about this setting, see Create a new AI request in the Postman documentation.
-
If your selected model requires you to provide an API key, click the Authorization tab and follow the on-screen directions.
 This is the API key for your selected model’s provider. This is not your Unstructured API key.
 -
Click Send, and follow the agent’s on-screen directions. This will involve the agent asking you to run one or more
curlcommands yourself to upload your source files to Transform, as well as clicking one or more download links to download Transform’s output JSON files based on your original source files. To respond to the agent or ask follow-up questions at any point, continue typing in the New user prompt area mentioned in step 2. For example: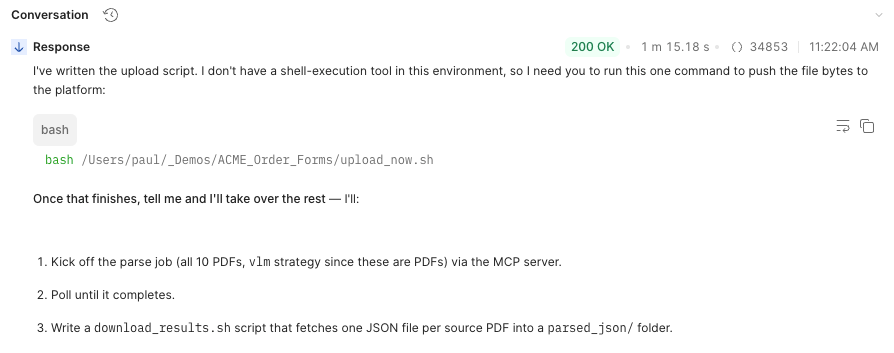
Getting the set of curl commands to upload source files to Transform
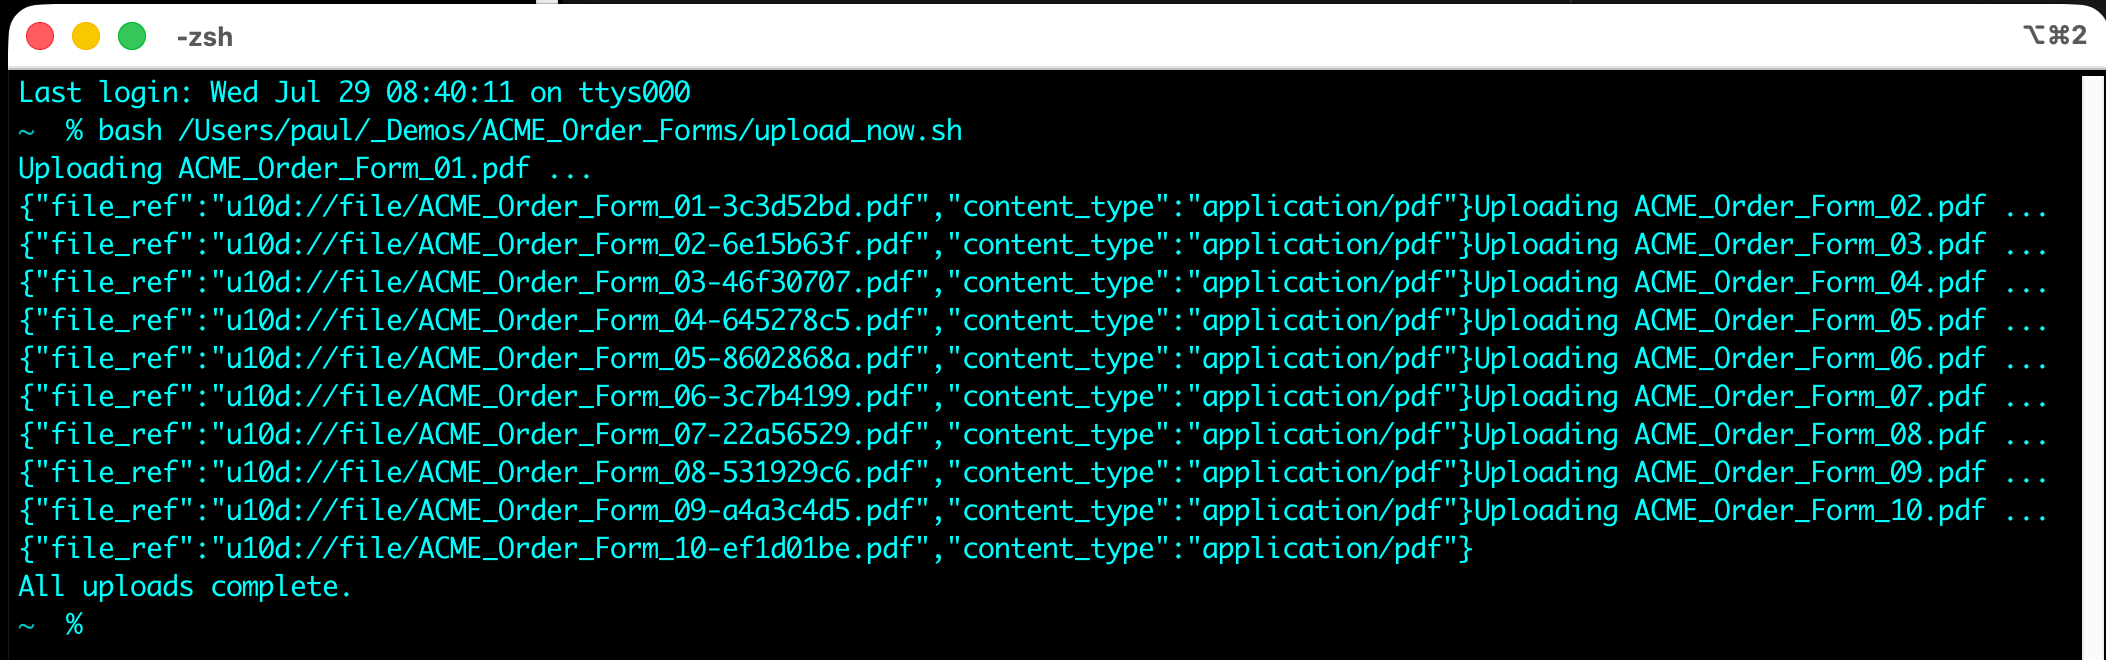
Running the set of curl commands to upload source files to Transform
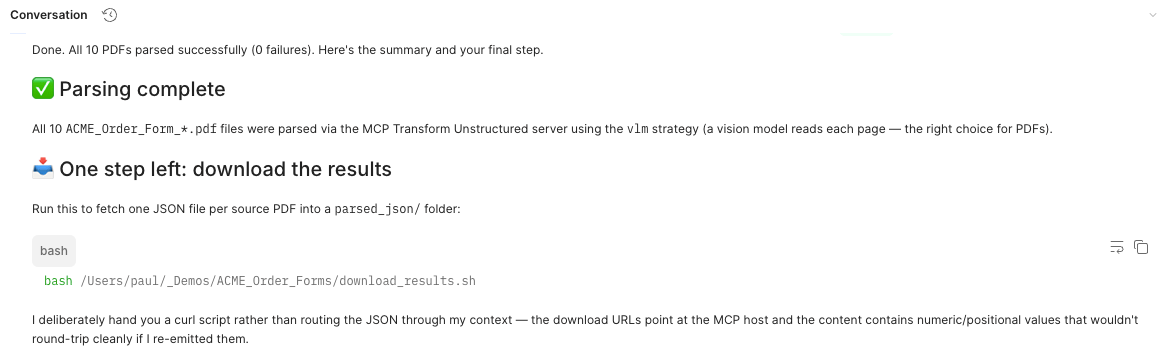
Getting the set of curl commands to download the output files from Transform
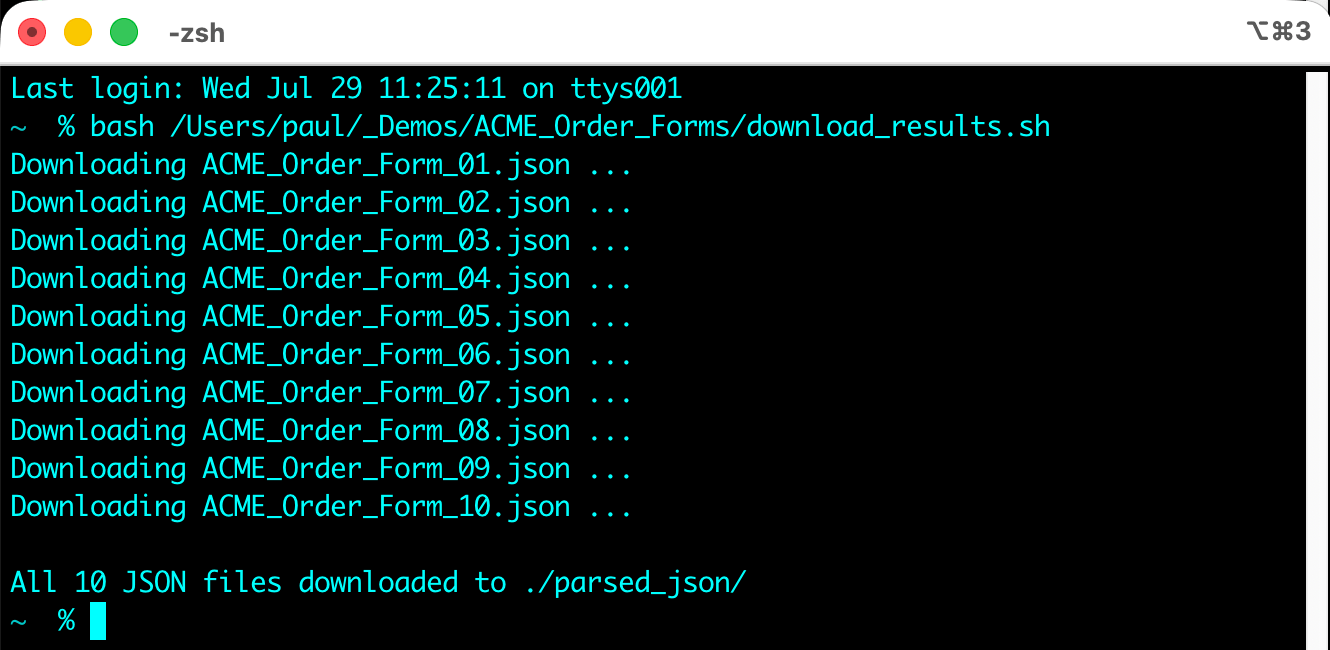
Running the set of curl commands to download the output files from Transform
Next steps
- Control Transform file parsing output: Control how the Unstructured Transform MCP server instructs Transform to partition, enrich, chunk, and embed the data based on your files.
- Control Transform structured data extraction: Control how the Unstructured Transform MCP server extracts and formats structured data from your files.
- Control Transform generated sample code: Control how the Unstructured Transform MCP server generates sample curl or Python code that demonstrates how to use Transform to partition, enrich, chunk, and embed the data based on your files.
Questions? Need help?
- For technical support, request support.