Unstructured can connect to several types of sources. In this quickstart, you create a Dropbox source connector that you can add to your Unstructured workflows. This source connector enables your Unstructured workflows to process your files that you store in a Dropbox account. In this quickstart, you will:Documentation Index
Fetch the complete documentation index at: https://docs.unstructured.io/llms.txt
Use this file to discover all available pages before exploring further.
- Create a free Dropbox Basic account.
- Create a Dropbox app in your Dropbox account. This app will provide the connection between your Dropbox account and your Unstructured account.
- Get specific information about your Dropbox app that Unstructured needs to connect to the app.
- Create a Dropbox source connector in your Unstructured account.
- Add the Dropbox source connector to a workflow in your Unstructured account.
Step 1: Create your Dropbox account
In this step, you create a free Dropbox Basic account. This account is limited to a single user and 2 GB of storage. If you already have a Dropbox account and want to use it instead, then skip ahead to Step 2.- Go to the Dropbox account sign up page, at https://www.dropbox.com/register.
- Enter your email address, and then click Continue.
- Enter your name and then, for Password, enter some password for your new account. Be sure to save this password to some secure location, as you will need it to access your Dropbox account later.
- Click Agree and sign up.
- To create a Dropbox Basic account, click the Personal tile.
- When you are prompted to install the Dropbox desktop app or mobile app, click Skip step. (You can always install these apps later.)
- To create a Dropbox Basic account, click Continue with 2 GB Dropbox Basic plan at the bottom of the account type selectionpage.
-
You are automatically signed in to your new Dropbox Basic account, and the Dropbox user interface (UI) appears.
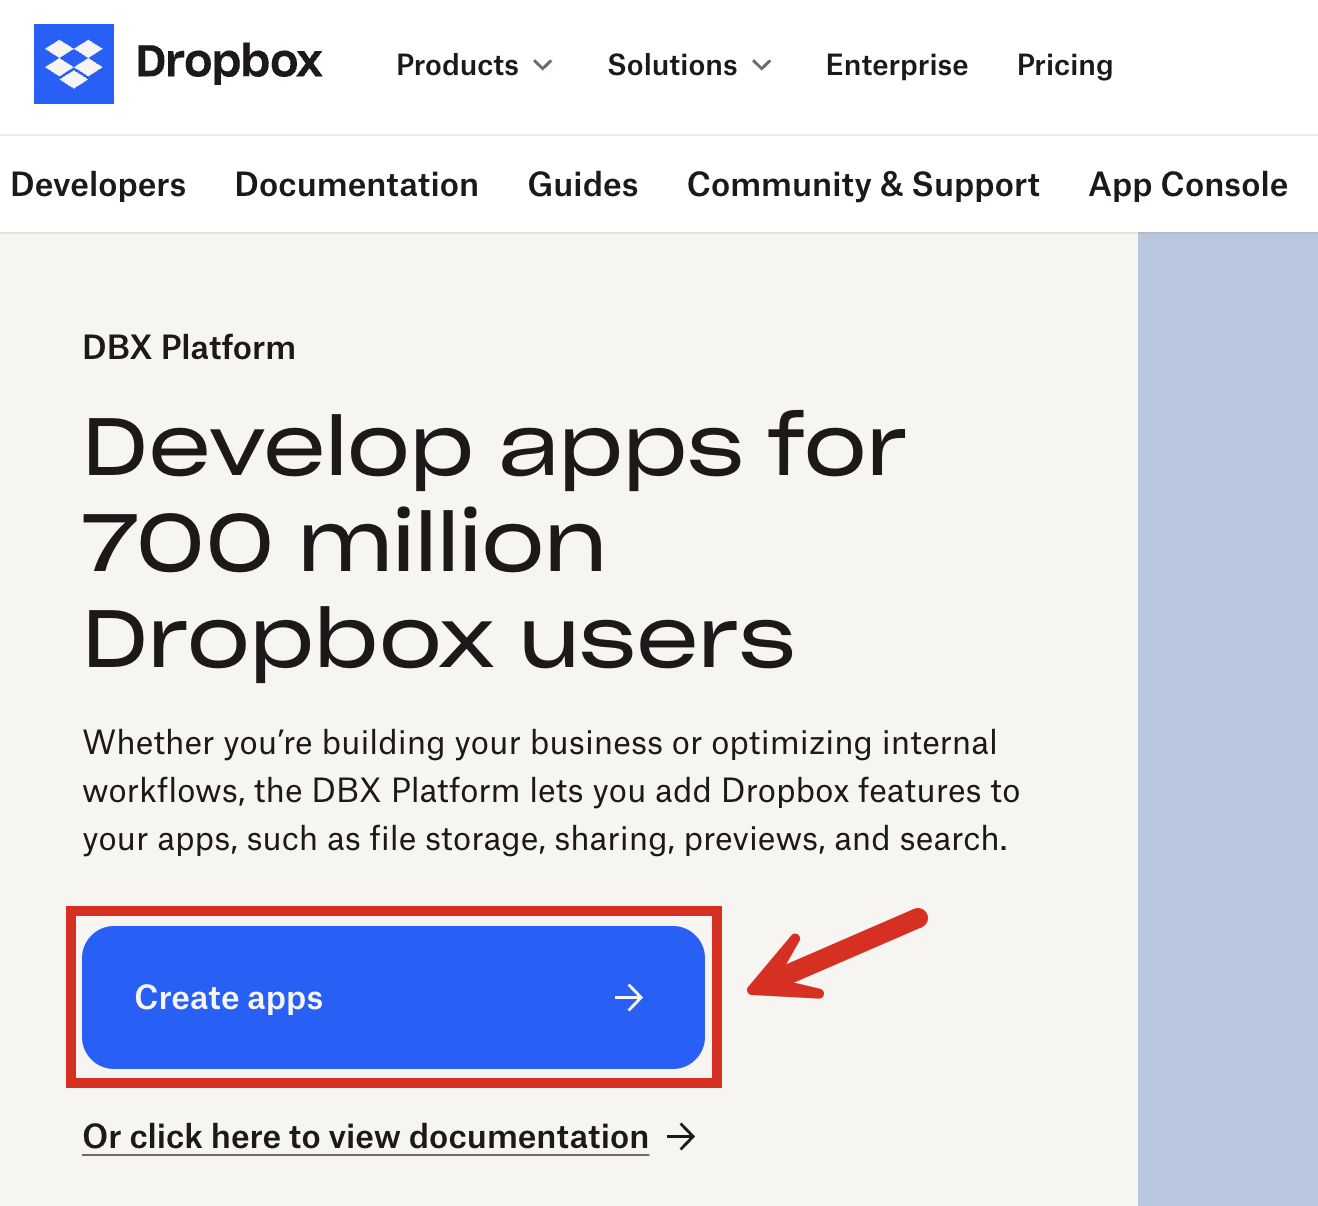
Step 2: Create a Dropbox app
In this step, you create a Dropbox app in your Dropbox account. Unstructured will use this app to access your Dropbox account.- From a new tab in your web browser, open the Dropbox Developers page, at https://www.dropbox.com/developers.
-
Click Create apps.
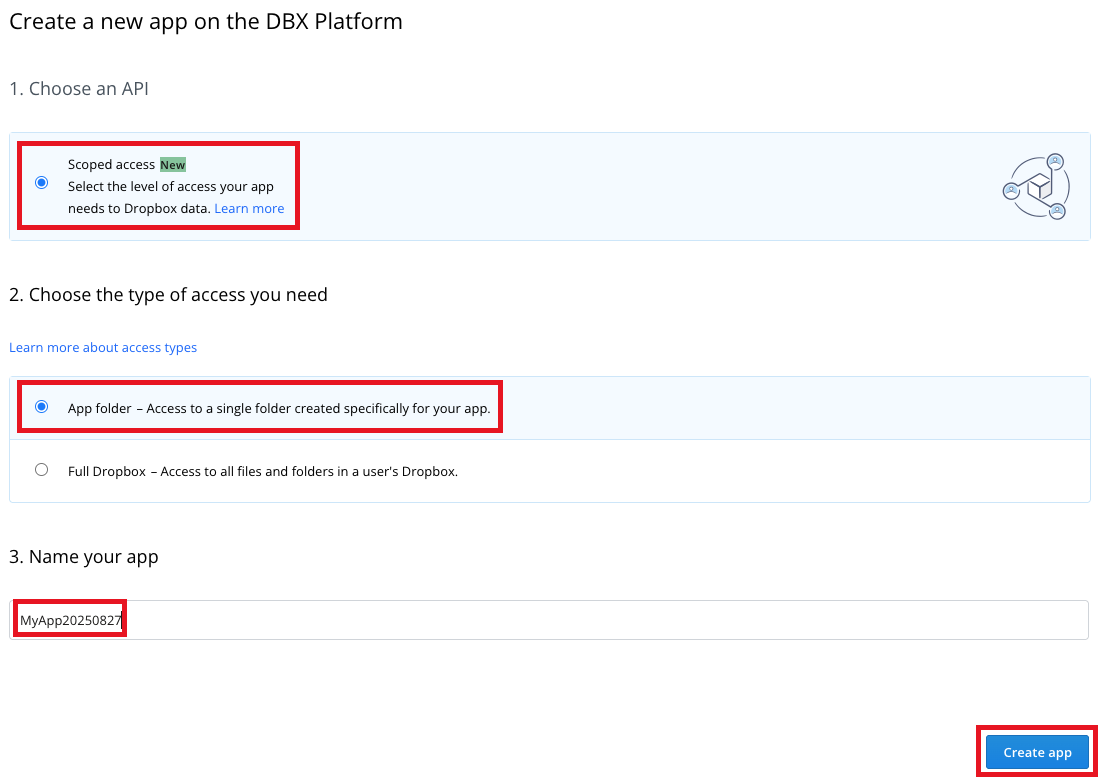
- For Choose an API, select the Scoped access radio button.
- For Choose the type of access you need, select the App folder radio button.
- For Name your app, enter some name for your Dropbox app.
- Check the box labelled I agree to Dropbox API Terms and Conditions, if it appears.
-
Click Create app.
-
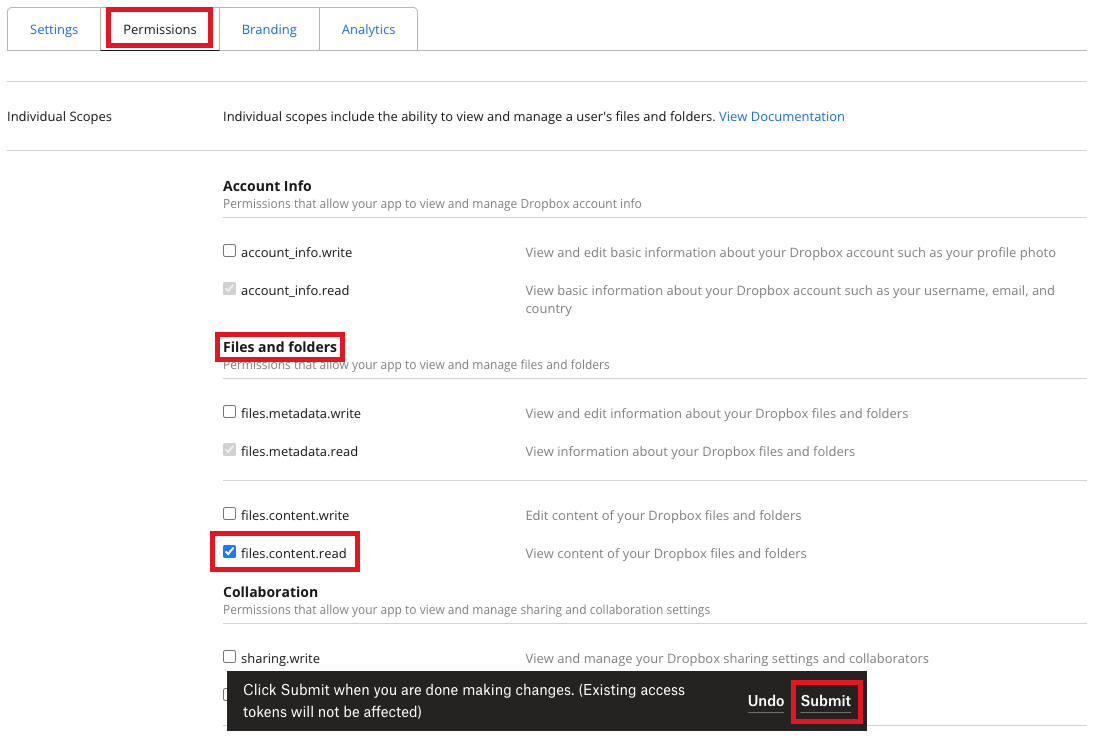
On the Dropbox app’s Permissions tab, under Files and folders, check the box labelled files.content.read, and then click Submit.
-
On the app’s Settings tab, note the value of the App folder name field. This is the name of the subfolder that Dropbox will create under the
Appstop-level folder in your Dropbox account. Your new Dropbox app will use this subfolder for access.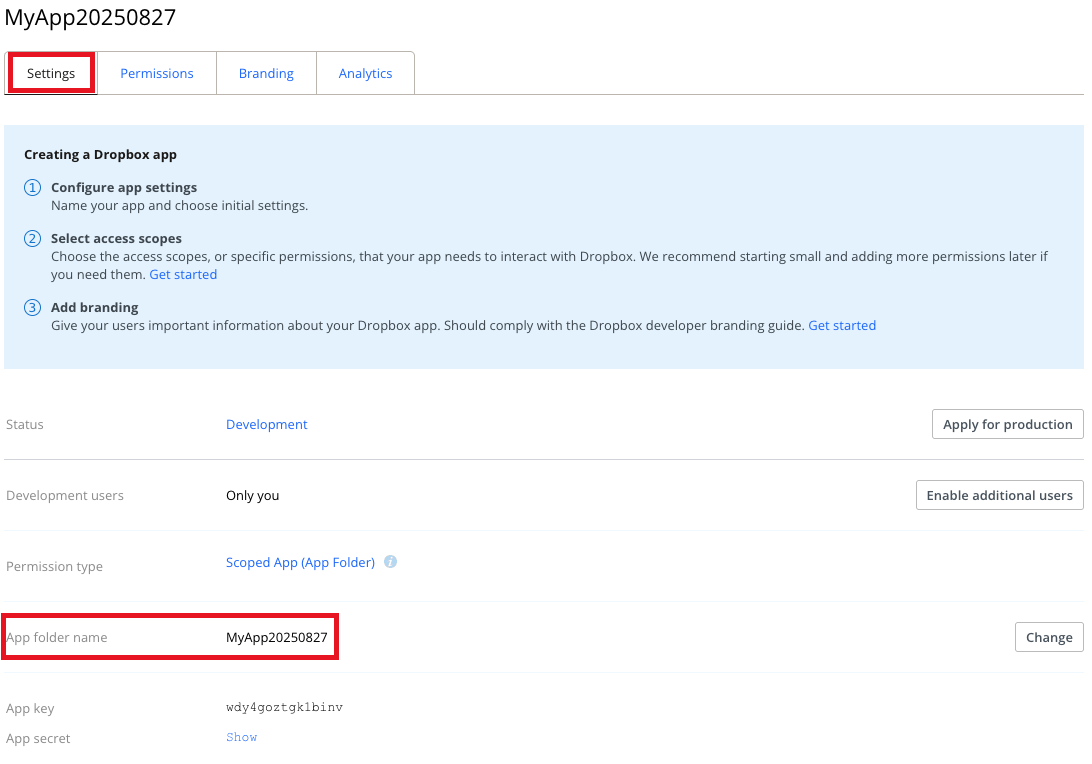
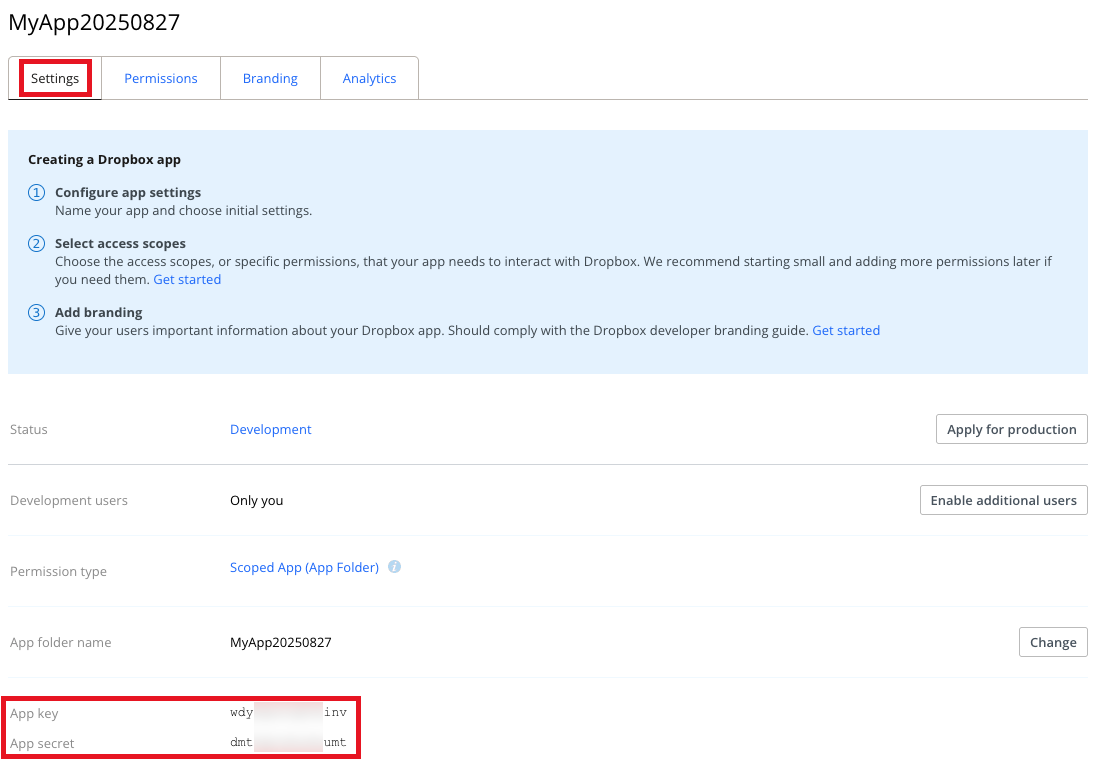
- With the app’s Settings tab still showing, scroll down to App key.
- Next to App secret, click Show.
-
Note the values of App key and App secret, as you will need them later for Steps 3 and 5.
Step 3: Get a refresh token for your Dropbox app
In this step, you get a refresh token for your Dropbox app. Unstructured needs this refresh token, along with the App key and App secret from the previous step, to be able to use your Dropbox app to connect to your Dropbox account.-
In a new tab in your web browser, enter the following address. In this address,
replace
<app-key>with the App key you noted in Step 2:For example, if your App key isaaa1aaaaaa1aaaa, then your address should look like this: -
Click Continue.
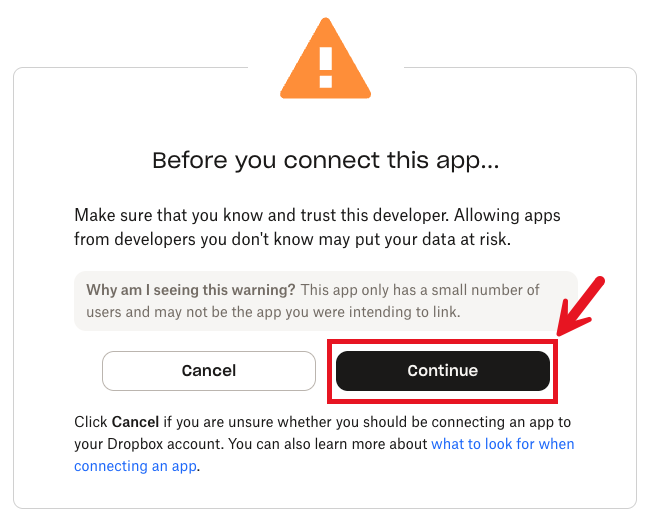
-
Click Allow.
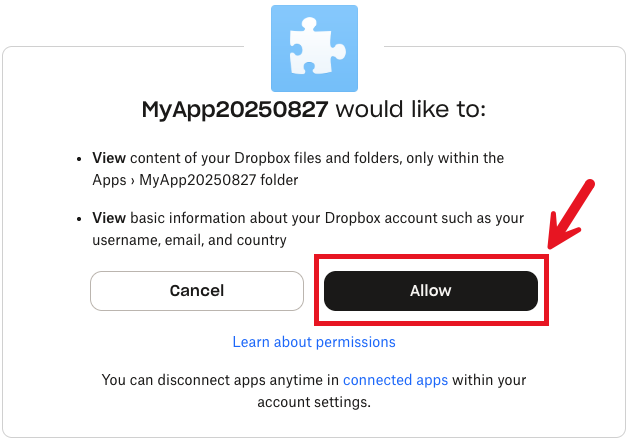
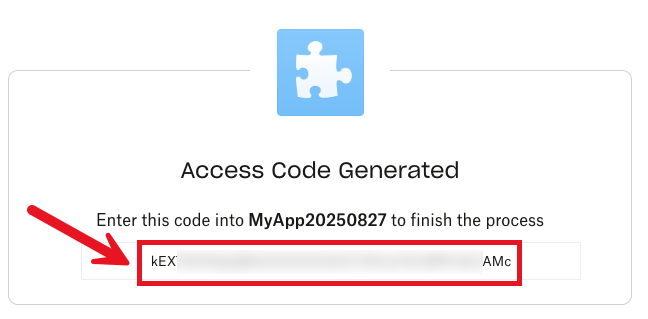
-
Note the value in the Access Code Generated box.
- On your computer, open the Terminal if you’re using macOS, a terminal window if you’re using Linux, or the Command Prompt if you’re using Windows.
-
Check to see if the
curlutility is alredy installed on your computer by running the following command: -
If the
curlutility is already installed, then you will see thecurlversion number and some other information aboutcurl. If some kind of error message appears instead, then installcurlon your computer by following instructions for your operating system. -
From your Terminal, terminal window, or Command Prompt, run the following
curlcommand. In this command, replace the following placeholders:- Replace
<app-key>with the App key you noted in Step 2. - Replace
<app-secret>with the App secret you noted in Step 2. - Replace
<access-code>with the Access Code Generated (orauth_code, if you followed the Tip) that you noted earlier in this step.
curlcommand:For example, if your App key isaaa1aaaaaa1aaaa, your App secret isbbb1bbb1bbb1bbb1, and your Access Code Generated orauth_codevalue isccc1ccc1ccc1-1cc-1cc, then your command should look like this:For Windows, run thiscurlcommand:For example, if your App key isaaa1aaaaaa1aaaa, your App secret isbbb1bbb1bbb1bbb1, and your Access Code Generated orauth_codevalue isccc1ccc1ccc1-1cc-1cc, then your command should look like this: - Replace
-
In the response, note the vaue of the
refresh_tokenfield, which you will need later for Step 5. For example, if the response looks like this (line breaks are added here for readability—the actual response will not have these line breaks):Then the value of therefresh_tokenfield isddd1ddd1ddd1ddd1.
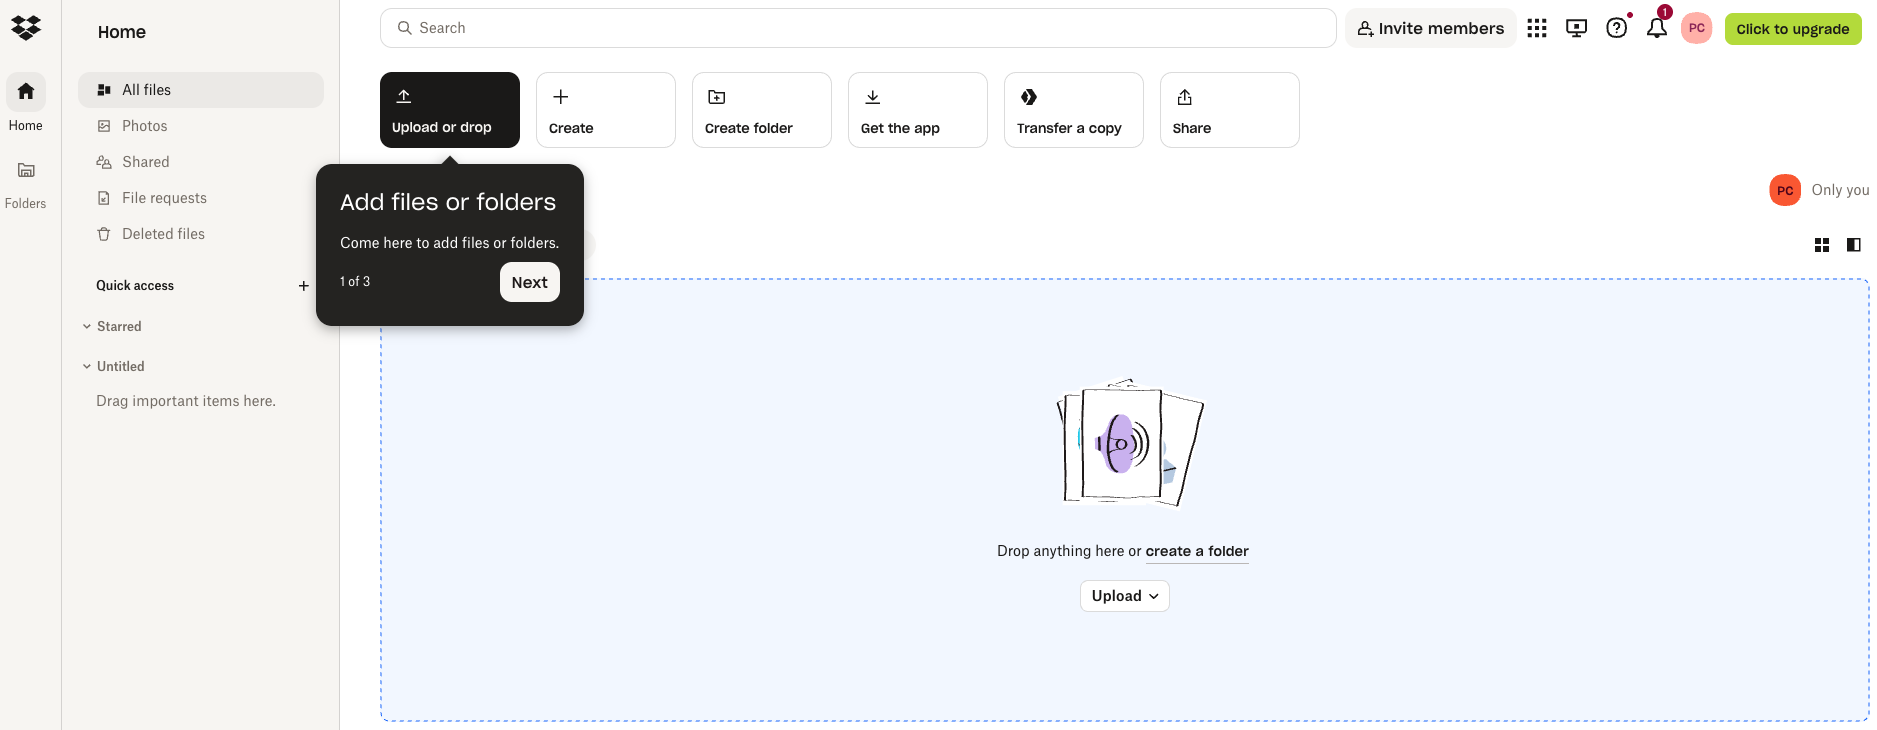
Step 4: Upload documents to your Dropbox app folder
In this step, you add your documents to your Dropbox app folder in your Dropbox account.-
In the Dropbox UI from Step 1, expand
Apps, and then click the folder that matches the App folder name field you noted in Step 2.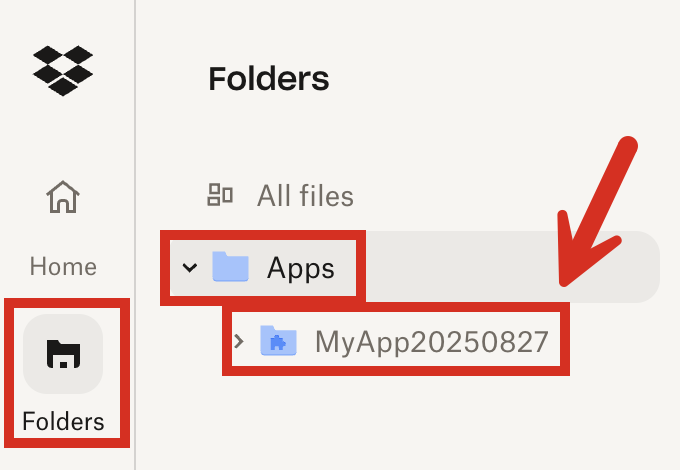
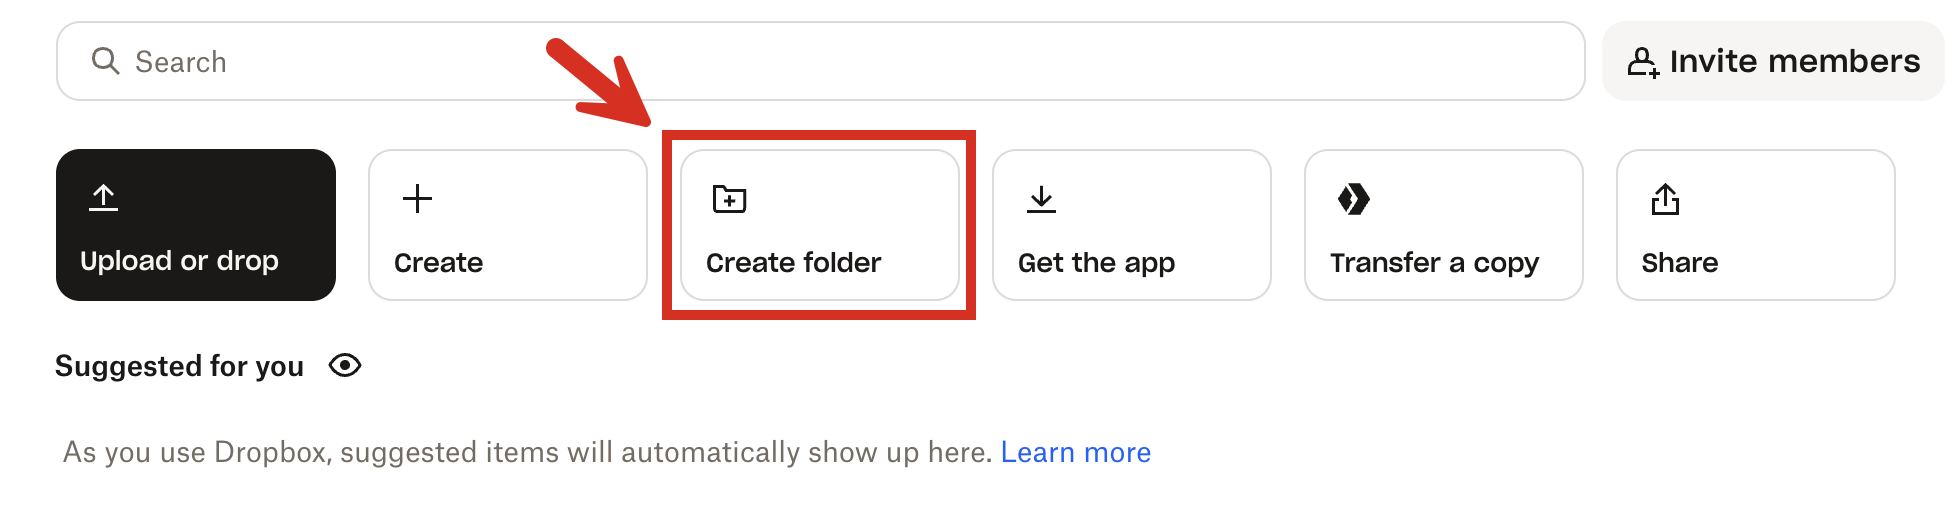
-
Click Create folder.
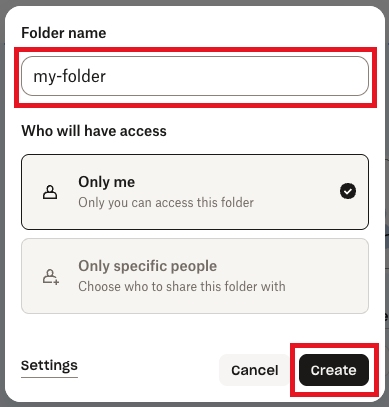
-
Give the subfolder a name, and then click Create.
-
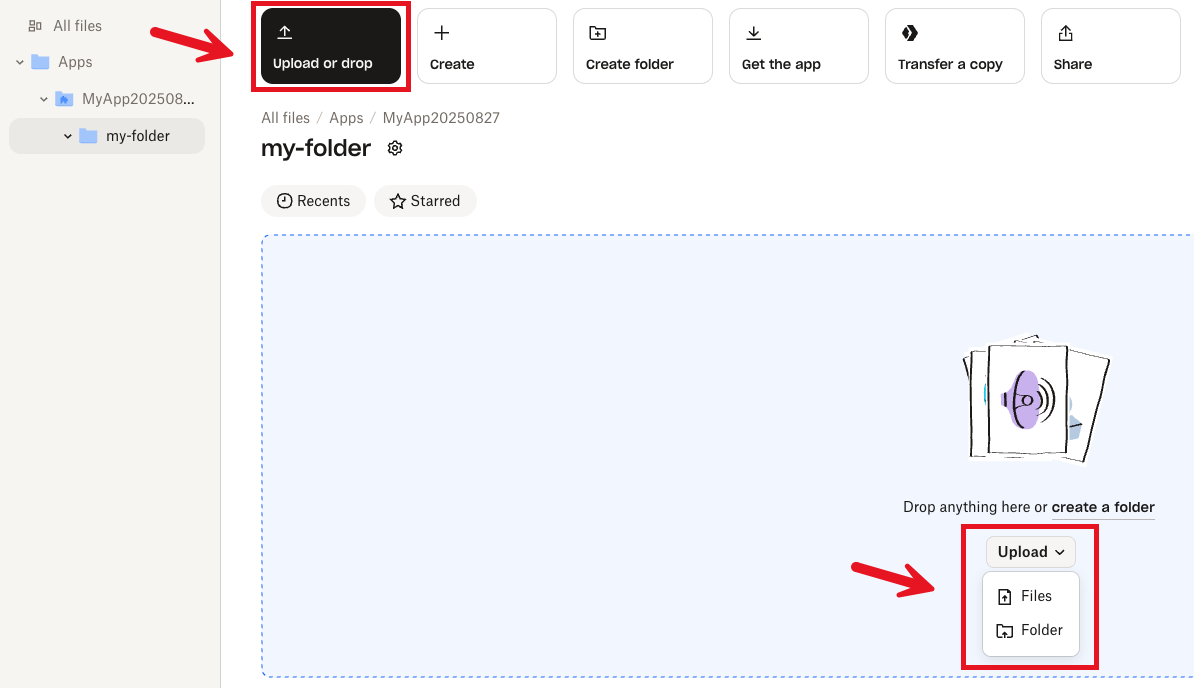
Click Upload or drop (or Upload > Files or Upload > Folder), and then follow the on-screen instructions to upload some documents to this subfolder in your Dropbox app folder.
For a Dropbox Basic account, the total size of all of the files you upload and store in your Dropbox account (not just this subfolder) cannot exceed 2 GB.
Step 5: Create the Dropbox source connector
In this step, you create a Dropbox source connector in your Unstructured account. This source connector is used by Unstructured to connect to your Dropbox account and then process the documents in the specified folder.-
If you do not already have an Unstructured account, sign up for free.
After you sign up, you are automatically signed in to your new Unstructured Let’s Go account, at https://platform.unstructured.io.
To sign up for a Business account instead, contact Unstructured Sales, or learn more.
-
If you have an Unstructured Let’s Go, Pay-As-You-Go, or Business SaaS account and are not already signed in, sign in to your account at https://platform.unstructured.io.
For other types of Business accounts, see your Unstructured account administrator for sign-in instructions, or email Unstructured Support at support@unstructured.io.
-
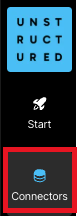
On the sidebar, click Connectors.
- Click + New.
-
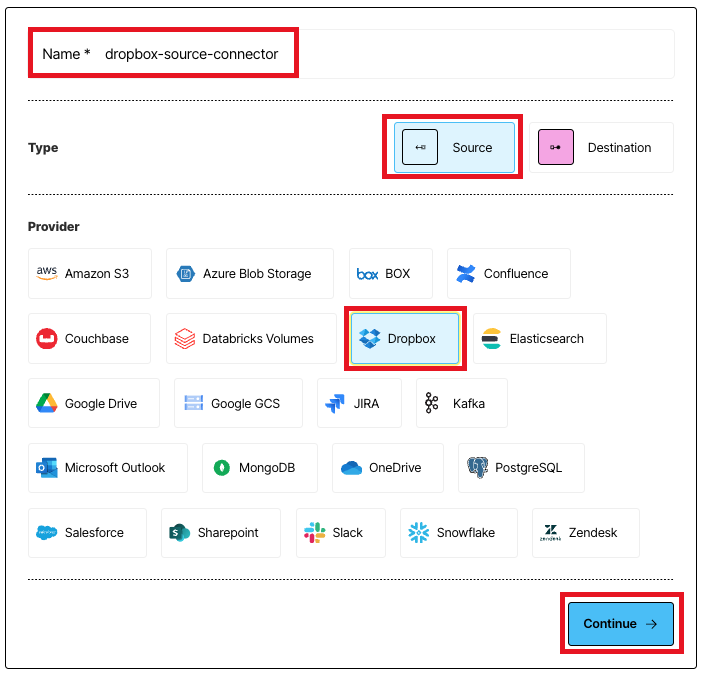
Enter some unique name for this connector, for example
dropbox-source-connector. - For Type, click Source.
- For Provider, click Dropbox.
-
Click Continue.
-
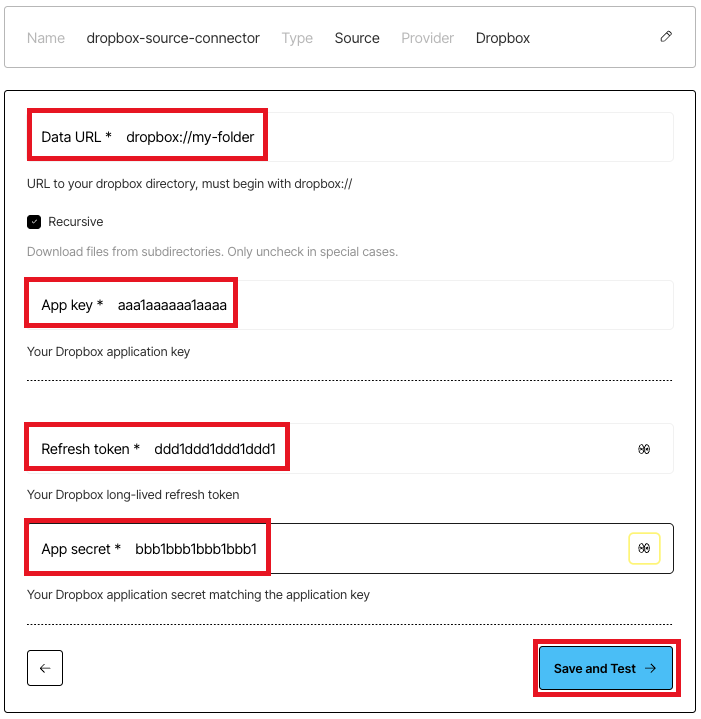
For Data URL, enter
dropbox://, followed by the name of the subfolder you created in the previous step. For example, if the name of the subfolder ismy-folder, then the data URL would bedropbox://my-folder.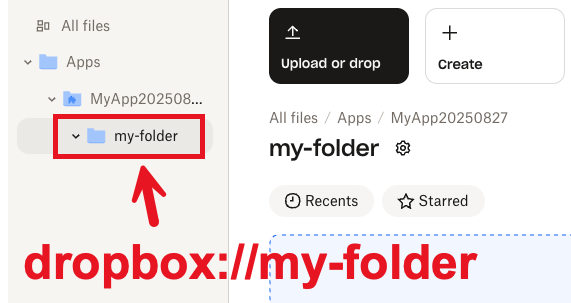
- For App key, enter the App key you noted in Step 2.
- For App secret, enter the App secret you noted in Step 2.
- For Refresh token, enter the Refresh token you noted in Step 3.
- Click Save and Test, and wait while Unstructured tests the connector.
-
If a green Successful message appears, then you have successfully created the connector.

Next steps
-
If you do not have a destination connector in your Unstructured account, then complete the Pinecone destination connector quickstart.
If you’re not sure if you have a destination connector, click Connectors in your Unstructured account’s sidebar, and then click Destinations to see if there are any listed.
-
If you already have a destination connector, then you can add this Dropbox source connector as well as your destination connector to a workflow in your Unstructured account. To do this:
-
Click Workflows in your Unstructured account’s sidebar.
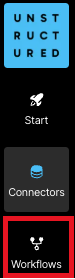
-
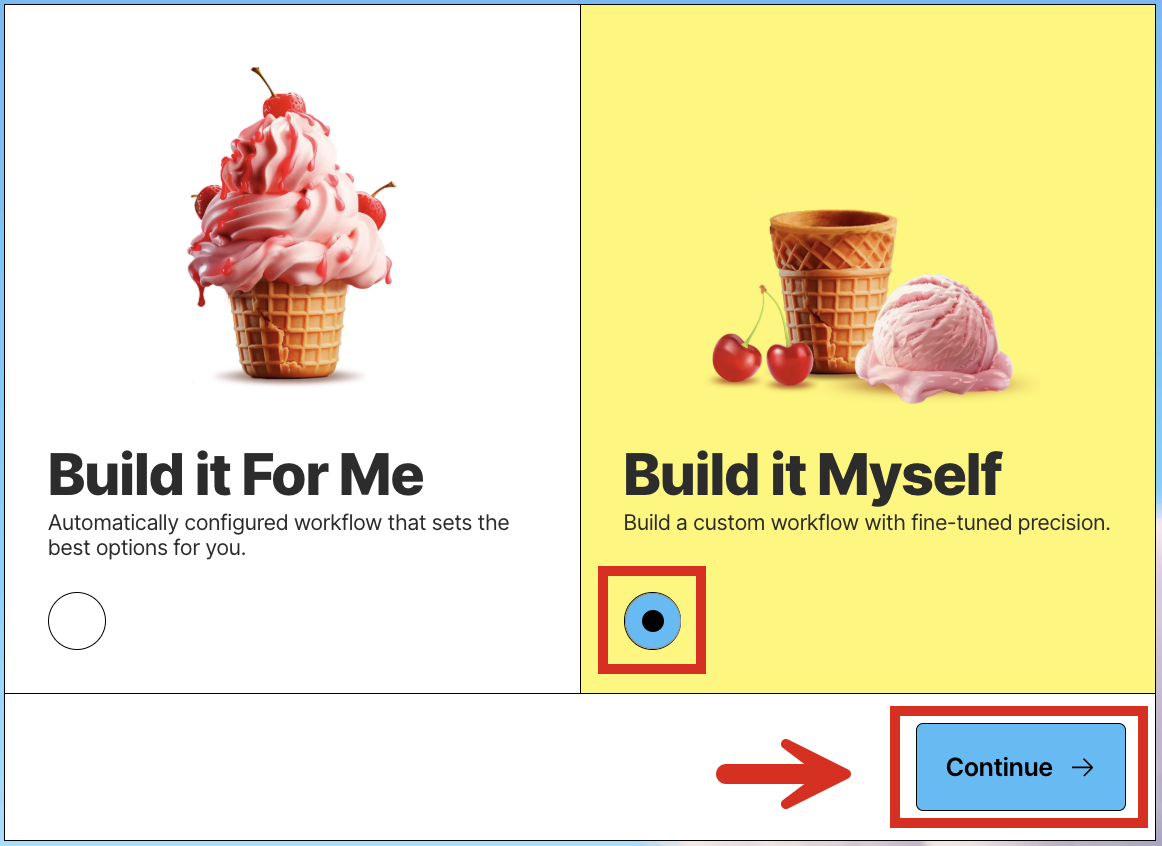
Click New Workflow +.

-
With Build it Myself already selected, click Continue.
-
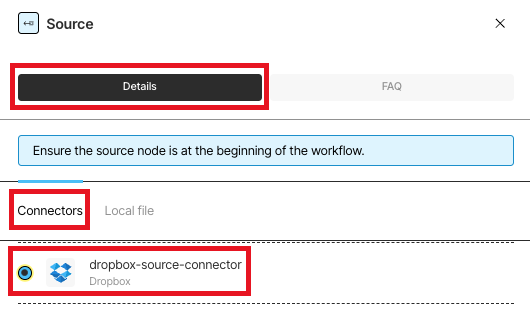
Click the Source node. (Do not click Drop file to test.)

-
On the Details tab, click Connectors, and then click the name of your Dropbox source connector.
-
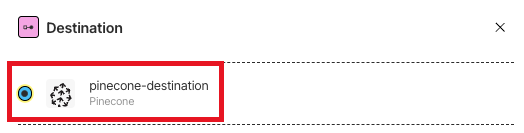
Click the Destination node.
-
On the Details tab, click the name of your destination connector.
-
Switch Active to on, and then click Save.
-
Next to your workflow’s name, click Run.

-
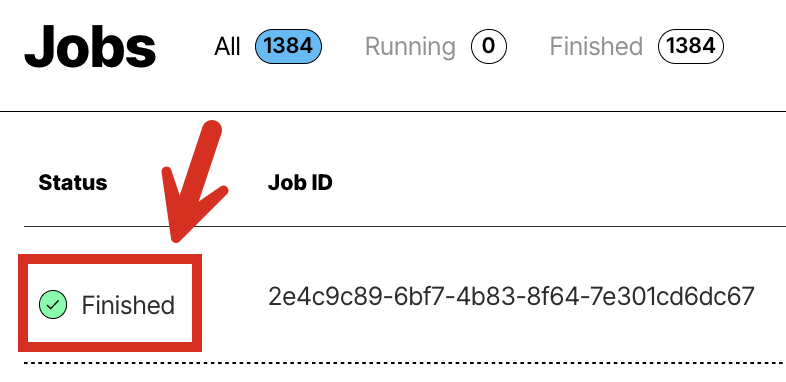
Click Jobs in your Unstructured account’s sidebar.
- After the job shows Finished with a green checkmark, go to your destination’s location to see Unstructured’s processed data output.
-
Click Workflows in your Unstructured account’s sidebar.